Motorola CPIP5430, Installation And Use Manual
The Motorola CPIP5430 is a cutting-edge device designed for seamless wireless connectivity. To ensure a smooth setup, users can refer to the comprehensive "Installation And Use Manual" available for free download on manualshive.com. This manual provides step-by-step instructions to maximize your experience with the product.
Share
Download


Reviews:
No comments
Related manuals for CPIP5430

A
Brand: Raspberry Pi Pages: 2
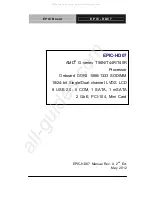
EPIC-HD07
Brand: Aaeon Pages: 97
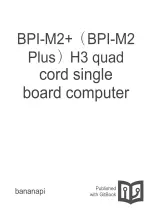
BPI-M2+
Brand: Banana Pi Pages: 88
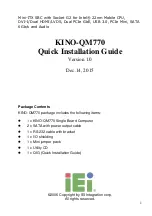
KINO-QM770
Brand: IEI Technology Pages: 15

HPCIE-Q470
Brand: IEI Technology Pages: 16
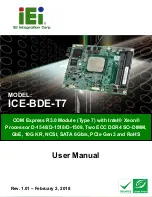
ICE-BDE-T7
Brand: IEI Technology Pages: 98
WAFER-JL-N5105
Brand: IEI Technology Pages: 79

TX 4000C
Brand: NMS Communications Pages: 58
iW-RainboW-G25M
Brand: iWave Pages: 52

NANO-LX-800
Brand: IEI Technology Pages: 8
PSC-586VGA
Brand: IEI Technology Pages: 31
efus A9X
Brand: F&S Pages: 36
PC/104 Single Board Computer with STPC Atlas CPU, and VGA, LCD, LAN, SSD, on-board RAM, 4xCOM,...
Brand: Lanner electronics Pages: 44
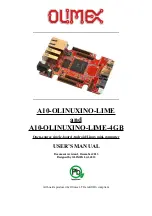
A10-OLINUXINO-LIME-4GB
Brand: OLIMEX Pages: 46
PME 68-1B
Brand: Radstone Pages: 132
PPM-LX800-G
Brand: WinSystems Pages: 56
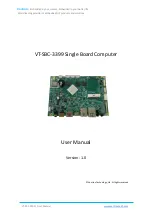
VT-SBC-3399
Brand: Vantron Pages: 44

HS-4010
Brand: Boser Pages: 45


