


Summary of Contents for HD-6000
Page 36: ...36 ...
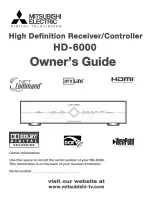
The Mitsubishi Electric HD-6000 is a cutting-edge electronic device that delivers exceptional performance. To ensure a seamless user experience, an easy-to-understand Owner's Manual is available for download, completely free of charge, from our website. Enhance your knowledge and optimize your product usage with this comprehensive manual.
Page 36: ...36 ...