


<ORIGINAL>
Prior to use, thoroughly read the instructions in this manual to use the product correctly.
Retain for future reference.
Make sure that all the included manuals are passed on to any future users.
To ensure safety and proper operation of the remote controller, the remote controller should
only be installed by qualified personnel.
CITY MULTI Control System
and Mitsubishi Mr. SLIM Air Conditioners
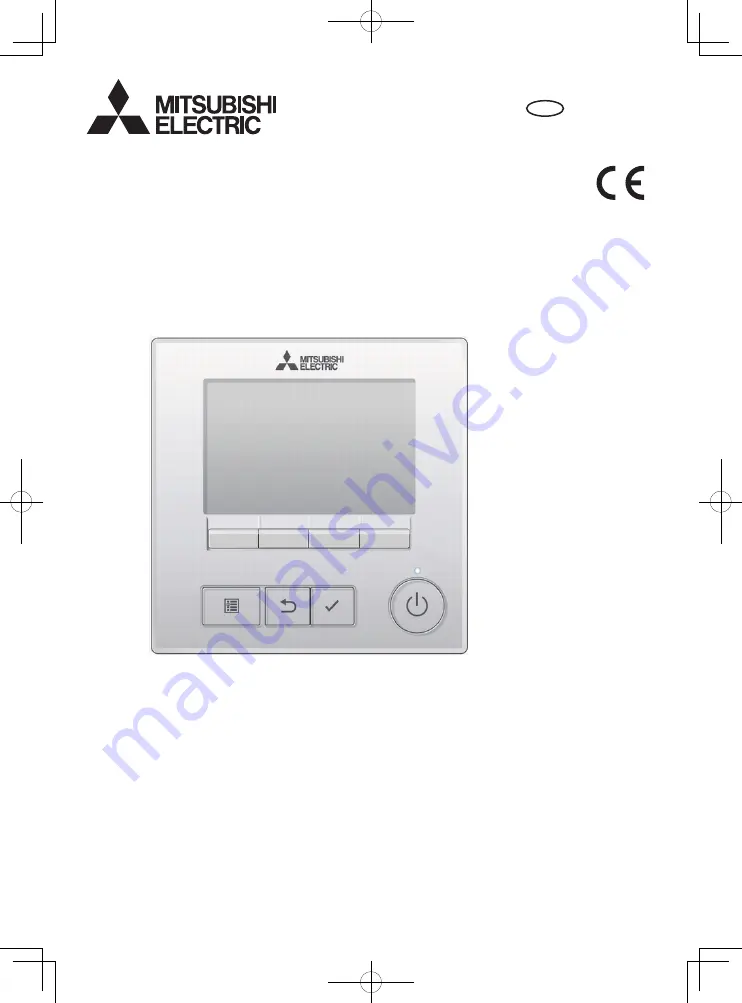
MA Remote Controller
PAR-41MAA
Instruction Book
en
WT09533X02


