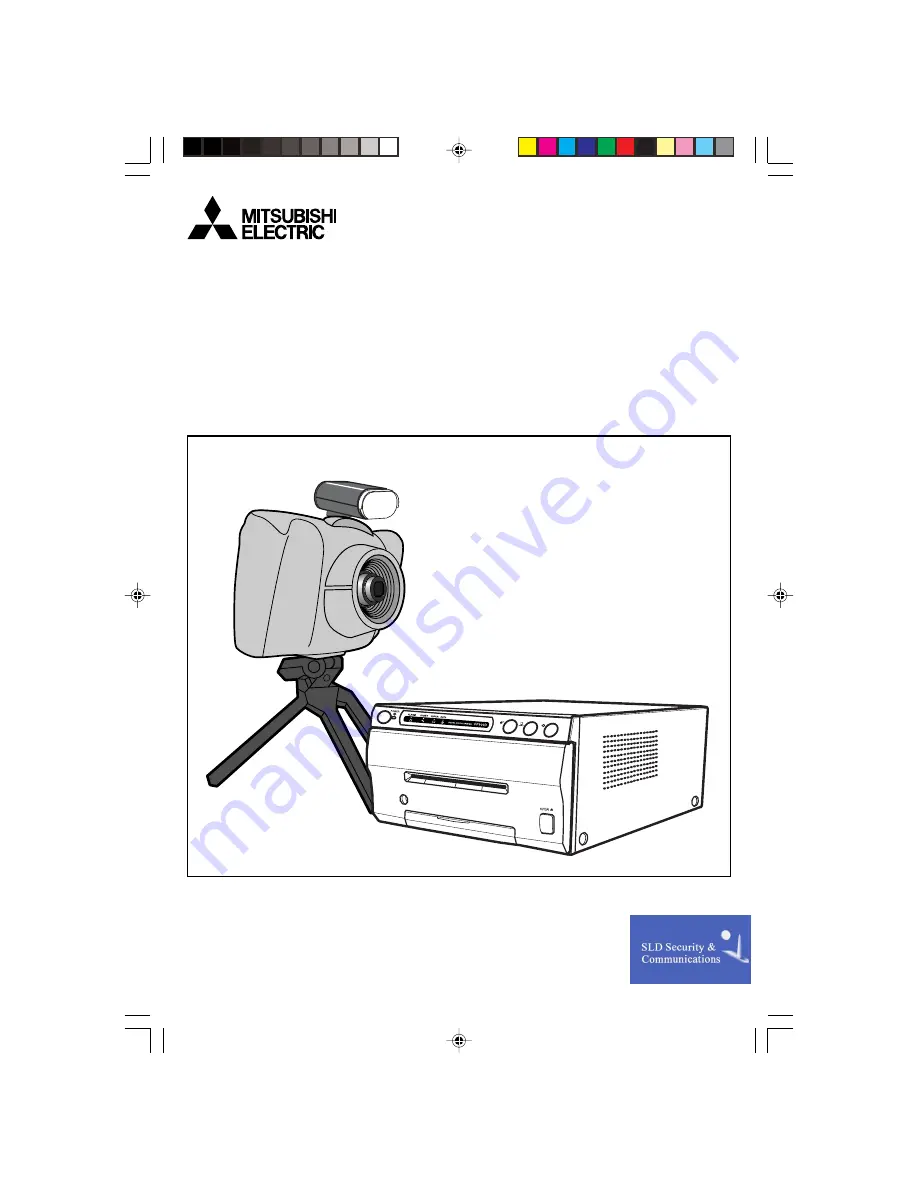
background image

PHOTO ID SYSTEM
900D-ID
[CP900DW(ID)]

OPERATION MANUAL

FEED&CUT

RESET

COPY

SLD Security & Communications
The Old Forge, Ockham Lane, Ockham, Surrey GU23 6PH England
Phone +44.1483225633 · Fax +44.1483225634
[email protected] · www.sld.co.uk

Summary of Contents for 900D-ID

Page 1: ... 900D ID DIS900D CP900DW ID OPERATION MANUAL FEED CUT RESET COPY SLD Security Communications The Old Forge Ockham Lane Ockham Surrey GU23 6PH England Phone 44 1483225633 Fax 44 1483225634 sales sld co uk www sld co uk ...

Page 2: ...sceptibility has been chosen at a level that gains proper operation in residential areas on business and light industrial premises and on small scale enterprises inside as well as outside of the buildings All places of operation are characterised by their connection to the public low voltage power supply system CONTENTS This system is composed by the following components CONTENTS Camera System cab...

Page 3: ...refully DO NOT PLACE WATER CONTAINERS ON THE UNIT Do not place flower vases and other water holding containers on the device If for some reason water seeps to the inside of the unit unplug the power cord from the source outlet and contact the sales dealer If used without corrective measures the unit may be damaged In the interest of safety avoid handling of liquids near the unit DO NOT REMOVE THE ...

Page 4: ... THE UNIT ON A HORIZONTAL SURFACE The unit is likely to be affected if it is placed in slanted conditions or in unstable places PROTECT AGAINST DEW FORMATION In extremely cold regions if the unit is moved quickly from an extremely cold place to warmer one dew is likely to be formed If dew is formed printing is not possible OPERATING AMBIENT TEMPERATURE RANGE The operating ambient temperature range...

Page 5: ...even colour or lines or wrinkles in the print images NOTE YOUR UNDERSTANDING IS REQUESTED FOR THE LOSS OF IMAGES IN MEMORY DUE TO THE SUDDEN OCCURRENCE OF A MALFUNCTION WHEN USING A COMPACT FLASHTM 1 To use the Compact Flash 1 Insert a Compact Flash into the camera 2 Turn on the power To pull out a Compact Flash 1 Turn off the power 2 Pull out the Compact Flash 2 When a Compact Flash is inserted o...

Page 6: ...ully Make sure to keep the unit horizontal Then unwrap the packing Accessory box DIGITAL COLOR PRINTER DI G I T AL CO LO R PR I N TE R D I G I T A L C O LO R PR I N TE R Power cord Ink cassette Operation manual Printer driver FR ON T FR ON T TO P System cable Operation manual Camera 2 2 2 2 2CAMERA ETC 1 1 1 1 1 Open the top of the box 2 2 2 2 2 Take out the system cable and operation manual 3 3 3...

Page 7: ...o install print paper and ink cassette INSTALLING PRINT PAPER Do not remove the seal on the print paper yet 1 1 1 1 1 Insert the print paper roller with gear on the left Press the folder 1as shown right and set the print paper roller 2 2 2 2 2 Set the other side of roller without gear 1 2 2 2 2 2 2 Shift the printing unit lock switch to the right UNLOCK 2 1 1 Front side Left side Right side Gear S...

Page 8: ... 1 1 1 1 1 Put the ink sheet rollers with flat tops into the holes of ink cassette Put the white roller rolled with ink sheet to the ink cassette first Then put the colored roller without ink sheet to the ink cassette 2 2 2 2 2 Position the other sides of rollers Set IC at this time IC chip with the IC holder is attached to the ink sheet Set the IC holder to the ink cassette as shown right NOTE Do...

Page 9: ...ndle 2 2 2 2 2INSERT THE PRINTING UNIT 1 1 1 1 1 Push the printing unit until it is locked into place 2 2 2 2 2 After plugging the power cord press POWER button on the front panel 3 3 3 3 3 Press FEED CUT button The print paper is automatically cut after feeding about 10 cm 4 inches 4 4 4 4 4 Repeat the above step 3 3 3 3 3once or twice Feeding the print paper will eliminate fingerprints and dust ...

Page 10: ...onnecting the cables make sure to set the cover over the terminals on the camera See page 21 for removing and setting the cover CABLE CONNECTION System cable AC power cord supplied with the printer Monitor option Flash option To AC LINE To USB To OPTION I F External flash option 900D ID DIS900D DPS W T SET EV MULTI COLOR B W PRINT S Flash option DPS system USB cable External flash option 12V 1A Op...

Page 11: ... 2 4 4D 6 16 or 1L by MULTI button Each time the button is pressed the format changes 1 1 image 75x100mm 2 2 image 50 8x74mm 4 4D 4 image 36 5x48mm 6 6 image 30x35mm 16 16 image 19x25mm 1 2 4 4D 6 16 5 5 5 5 5 Press T or W button to adjust the size to fit the face in the face guide Adjust the position where The face is positioned just within the upper and lower horizonetal lines on the LCD The nos...

Page 12: ... is switched to PLAY mode A mark will be dis played NOTE Four images can be memorized in the camera When a Compact Flash is inserted the images are memorized only in the Compact Flash B B B B B When taking more pictures press CAMERA PLAY button Switch the camera to CAMERA mode Then repeat the above steps 9 to 10 If brightness of the image is not adjusted correctly repeat the above steps 6 to 10 CO...

Page 13: ...e second image and press PRINT button The second image is transfered to the printer and printing the two images starts Refer to page 14 to get maximum quality of your pictures 2 2 2 2 2 Deleting the memorized images when using a Compact Flash 1 1 1 1 1 Set the camera to PLAY mode 2 2 2 2 2 Display the image to be deleted by pressing T or W button 3 3 3 3 3 Press SET button The image to be deleted ...

Page 14: ...tton to set the zoom 3 3 3 3 3 Press SET button for more than 3 seconds MENU is displayed 4 4 4 4 4 Press T or W button to select CAPTURE 5 5 5 5 5 Press SET button The CAPTURE menu is displayed 6 6 6 6 6 Press T or W button to select FLASH ON and press SET button EXP CENTER menu appears If OFF is selected on FLASH EXP CENTER menu does not appear MULTI COLOR PRINT W T SET EV MU B W M E N U W B C O...

Page 15: ...he image stops getting brighter at a certain value This is the maximum EXP CENTER value 8 8 8 8 8 Set EXP CENTER value Decrease the maximum EXP CENTER value by 5 Set this value as EXP CENTER Use W button to increase the value The value decreased from the maximum EXP CENTER value depends on the flash in use 9 9 9 9 9 Press SET button A A A A A Press T or W button to select BACK to finish the iris s...

Page 16: ...amera NOTE The memorized picture should not be completely white It is necessary that the picture is a little bit dark means slightly gray Also the back flash should be turned off 2 2 2 2 2 Take a picture Press SHOT button 3 3 3 3 3 Press CAMERA PLAY button to switch the camera to CAMERA mode 4 4 4 4 4 Press SET button for more than 3 seconds MENU is displayed 5 5 5 5 5 Press T or W button to selec...

Page 17: ...ress SET button The camera automatically starts adjusting white balance and completes setting in a few seconds 9 9 9 9 9 Repeat pressing T or W button to select BACK then press SET button to finish the white balance setting menu W T SET EV W T SET EV W T SET EV L O C K I N R E C A L L B A C K L O C K I N R E C A L L B A C K W T SET EV ...

Page 18: ...he variation of R B and HUE B W Y Adjusts yellow subcontrast of the printed image M Adjusts magenta subcontrast of the printed image C Adjusts cyan subcontrast of the printed image 6 6 6 6 6 Press SET button The changed value is saved 7 7 7 7 7 Select BACK by pressing T or W button then press SET button MENU is displayed W T SET EV W T SET EV M E N U W B C O L O R S H A R P L C D C A P T U R E M O...

Page 19: ...19 W T SET EV 4 D a n 8 8 8 8 8 Select EXIT and press SET button to go back to CAMERA mode If you wish to reset the settings select RESET Then select YES and press SET button ...

Page 20: ...mode use to select the memorized picture 3 3 3 3 3 T BUTTON Press to zoom up an image or select a menu item On PLAY mode use to select the memorized picture 4 4 4 4 4 EV BUTTON Press to change the exposure in Flash ON mode In Flash OFF mode the shutter speed can be changed Set Flash ON or OFF on CAPTURE menu See page 27 5 5 5 5 5 B W BUTTON Press to select the black and white image setting 6 6 6 6...

Page 21: ...halfway to adjust focus and press down full to take a picture C C C C C LCD Displays the source image memorized image multi mode color or B W setting number and memory position D D D D D CF SLOT Insert a Compact Flash here E E E E E USB TERMINAL Use this terminal when connecting to DPS system F F F F F DC 12V TERMINAL G G G G G USB TERMINAL Use to connect with CP900DW ID printer H H H H H VIDEO OU...

Page 22: ... button names on the camera SET SET SET W B L E V E L M A N UA L L O C K B A C K C O L O R a b c B A C K S H A R P S O F T N O R M A L H A R D U S E R B A C K L C D C O L O R B R I G H T B A C K M O D E 1 6 m H S H Q 1 6 m L s i z e B A C K T R I M M U LT I 1 L 1 2 4 4 D 6 1 6 B A C K R E S E T Y E S N O B A C K SET SET p26 p27 p26 p27 p27 p28 p28 p29 p29 C A P T U R E F L A S H O N O F F E X P C ...

Page 23: ...23 S u b M E N U S L E E P O N O F F B A C K S u b M E N U O P S K I P O N O F F B A C K S u b M E N U M A R G I N C U T O N O F F B A C K S u b M E N U D P S M O D E O N O F F B A C K p30 p30 p30 p30 ...

Page 24: ...ions 1 1 1 1 1 Press CAMERA PLAY button to switch the camera to CAMERA mode In CAMERA mode mark is displayed on the upper right of the LCD 2 2 2 2 2 Press SET button for more than 3 seconds MENU is displayed 3 3 3 3 3 Select the desired item by pressing T or W button In the right figure COLOR is selected 4 4 4 4 4 Press SET button to open the item When you select S MENU see page 30 5 5 5 5 5 Press...

Page 25: ...g T or W button then press SET button MENU is displayed D D D D D Select EXIT and press SET button to go back to CAMERA mode If you wish to reset the settings select RESET Then select YES and press SET button C O L O R a b c B A C K W T SET EV W T SET EV W T SET EV M E N U W B C O L O R S H A R P L C D C A P T U R E M O D E T R I M S M E N U R E S E T E X I T W T SET EV 4 D a n C O L a R 0 B 0 H U...

Page 26: ...n selecting any one the settings are displayed R Adjusts the red color of print image B Adjusts the blue color of print image HUE Adjusts the color tint STEP Sets the variation of R B and HUE TEST PRINT Peforms self test print The images are printed with the setting data Use TEST PRINT to find the best settings by changing the values of the image which is taken most recently Print sample W B L E V...

Page 27: ...r taking pictures and adjusts brightness FLASH Selects whether flash is available or not ON Triggers the flash when taking a picture OFF Does not trigger the flash EXP CENTER Adjusts the light intensity from strobe flashing to image capturing Increase the value to get a brighter image and decrease to get a darker image Before changing this value make sure to set EXP value to 0 To check the EXP go ...

Page 28: ...cting MULTI 4 to 16 L SIZE The resolution sent to the printer becomes 1600 1200 pixels This item is available when selecting MULTI 1L TRIM Multi Selects multi print mode 1L 1 image on a sheet 1 1 image on a sheet 2 2 image on a sheet 4 4 image on a sheet 4D 4 image on a sheet 2 pictures of 2 different images 6 6 image on a sheet 16 16 image on a sheet After selecting the multi mode and pressing SE...

Page 29: ...image 75x100mm 2 4 image 50 8x74mm 4 4D 6 image 36 5x48mm 6 9 image 30x35mm 16 24 image 19x25mm 1 2 4 4D 6 16 S MENU Sub MENU See the next page for details RESET YES All settings in MENU are reset to the settings made by the installer NO Reset is not performed Multi Maximum print size Setting at factory shipping Print size Resolution mm approx T B L R mm approx pixels 1L 93 5x124 7 0 0 0 0 93 5x12...

Page 30: ...any camera operation is not carried out for more than 5 minutes Press SET button to be active the camera OFF LCD is not turned off OP SKIP Selects whether the overcoating process on the print is skipped or not ON Overcoating process is skipped OFF Overcoating process is carried out MARGIN CUT Selects whether the margin of the printed paper is cut or not ON Margin is cut OFF Margin is not cut DPS O...

Page 31: ...31 OPTIMUM SETUP FOR THIS SYSTEM FEED CUT RESET COPY 2 2 2 2 2EFFECT OF BACK FLASH The back flash reduces the shadow behind the subject 0 3m 0 3m 1 5m to 2m 2m Without back flash With back flash ...

Page 32: ...not connected A cable is disconnected or the power is turned off during data transfer Remove the jammed paper Re install the print paper and ink sheet and press the FEED CUT button Install the ink sheet cartrige Or re install the ink sheet cartridge Replace the ink sheet and paper with a new one Re install the ink sheet cartridge Or set the IC chip correctly If the status is not improved replace t...

Page 33: ...s turned on When DPS mode no USB cable is connected or the PC is not running S size ink sheet is installed when L mode is selected in the menu Initial process for CF card insertion The format of the card is not suitable Errors concerning the Compact Flash Errors concerning the Compact Flash Wait until the printing is completed Take a picture to store it in the memory Turn on the power or connect t...

Page 34: ...et firmly Is the printer turned on Confirm that the printer is turned on No signal Is the cable connected correctly Check each connection Image is not printed Is the image data sent to the printer Confirm that the image data is sent to the printer Is the print paper or ink sheet used up Check the status Is the printing unit of the printer set correctly Set the printing unit correctly The camera se...

Page 35: ...ellow magenta and cyan Print quality Dot resolution max 1676x1280dots Number of grades 256 for each color Printng time Approx 46sec sheet S size one image print Ink sheet Special cartridge method Print paper Special roll paper L size 162x110mm Printing area 130x100mm Special roll paper S size 100x105mm Printing area Wide mode 100x75mm Supply method Automatic Interface USB Ver 1 1 Power supply AC 1...

Reviews: