Miele KWF 7510 SNE ed 3, Operating And Installation Manual
The Miele KWF 7510 SNE ed 3 brings efficiency and convenience to your kitchen. Unlock the full potential of this innovative appliance with the comprehensive Operating and Installation Manual. Download it for free on our website to access step-by-step instructions and unleash the capabilities of your Miele KWF 7510 SNE ed 3.
Share
Download


Reviews:
No comments
Related manuals for KWF 7510 SNE ed 3
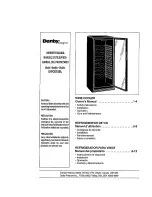
Designer DWC610BL
Brand: Danby Pages: 17
Monogram ZDBI240
Brand: GE Pages: 8
Profile PCR06WATSS
Brand: GE Pages: 64
JQ-332A
Brand: Haier Pages: 8
JQ-332A
Brand: Haier Pages: 8
JC-298G
Brand: Haier Pages: 6
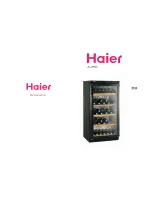
HWS116GAE
Brand: Haier Pages: 98
Monogram ZDWI240
Brand: GE Pages: 8

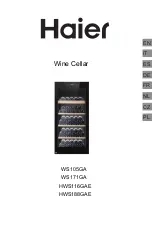
WS120GA
Brand: Haier Pages: 98

JC-110GD
Brand: Haier Pages: 14

HWC-298SWA
Brand: Haier Pages: 18

LS40
Brand: La Sommeliere Pages: 21

RW51TS338SR/AA
Brand: Samsung Pages: 64

PC200
Brand: Waring Pages: 8

EF24LWCZ1SS
Brand: Dacor Pages: 8

EF24LBCSS
Brand: Dacor Pages: 16

Wine Steward/Beverage Cooler
Brand: Dacor Pages: 12
DWC040A3BSSDD
Brand: Danby Pages: 2


