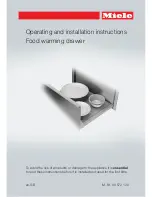
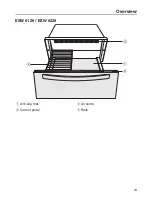
Miele ESW 6114, Operating And Installation Instructions
The Miele ESW 6114 is a sleek and efficient built-in warming drawer that adds convenience to your kitchen. For comprehensive details on operating and installation instructions, simply download the user manual for free from our website. Enhance your culinary experience with this top-notch appliance, available exclusively at manualshive.com.
Share
Download
Reviews:
No comments
Related manuals for ESW 6114
7937
Brand: Sage Pages: 8
9100A
Brand: Nemco Pages: 12
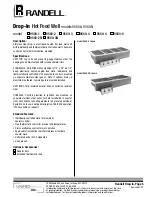
3612
Brand: Randell Pages: 2
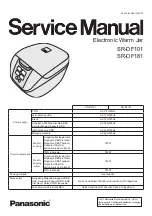
SR-DF101
Brand: Panasonic Pages: 41

Infinity
Brand: WarmlyYours Pages: 13
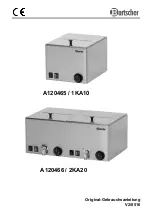
A120465
Brand: Bartscher Pages: 84
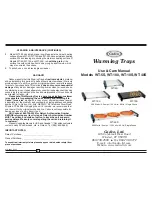
WT-100
Brand: Cadco Pages: 2
DWW-11
Brand: Cadco Pages: 1
BS 22
Brand: H+H Pages: 32

FOOT WARMER
Brand: Lanaform Pages: 64
9560-1
Brand: Randell Pages: 2
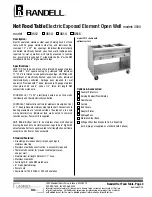
3512
Brand: Randell Pages: 2
PC140
Brand: PARRY Pages: 17
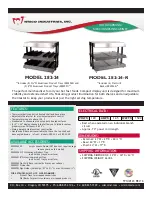
282-24
Brand: Wisco Industries Pages: 7
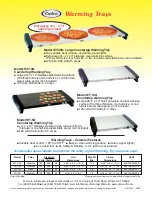
WT-10S
Brand: Cadco Pages: 2

MINI DIPPER RJ15-065-R
Brand: Chefman Pages: 12
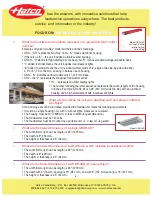
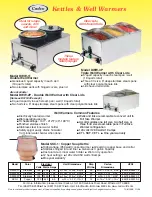
Glo-Ray GRAH-24
Brand: Hatco Pages: 3
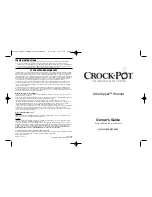
LITTLE DIPPER WARMER
Brand: Crock-Pot Pages: 4


