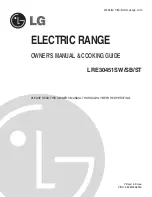
LG LST5651SB, Owner'S Manual & Cooking Manual
The LG LST5651SB is a versatile cooking appliance that will revolutionize your kitchen experience. With its comprehensive Owner's Manual & Cooking Manual, you'll have access to all the essential information needed to make the most out of this appliance. Download these manuals for free from manualshive.com and unlock the full potential of your LG LST5651SB.
Share
Download


Reviews:
No comments
Related manuals for LST5651SB
LRE30451
Brand: LG Pages: 2
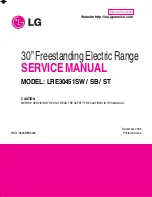
LRE30451
Brand: LG Pages: 16
LRE30451
Brand: LG Pages: 92
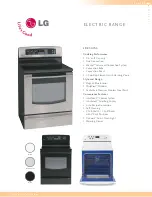
LRE30451SB
Brand: LG Pages: 34
LRE30451SB
Brand: LG Pages: 74
LRE30755
Brand: LG Pages: 2
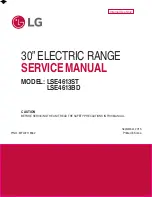
LSE4613BD
Brand: LG Pages: 88
LSE4613BD
Brand: LG Pages: 112
VEFSGE304P
Brand: Verona Pages: 24
CVESC530-4B
Brand: Brigade Pages: 12


