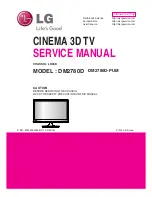
LG DM2350D, Owner'S Manual
The LG DM2350D is a versatile and high-quality entertainment hub that offers stunning visuals and immersive audio. To fully utilize its features, make sure to download the comprehensive Owner's Manual from our website for free. Unlock the full potential of your LG DM2350D with this detailed manual, available at manualshive.com.
Share
Download


Reviews:
No comments
Related manuals for DM2350D
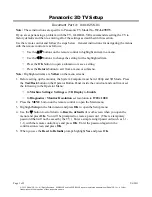
Viera TC-L47ET5
Brand: Panasonic Pages: 2
47CM565
Brand: LG Pages: 40
DM2780A
Brand: LG Pages: 102
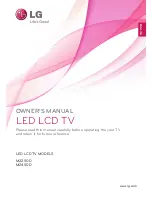
DM2780D
Brand: LG Pages: 38
DM2780D
Brand: LG Pages: 78
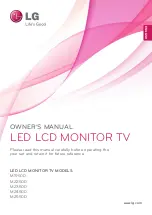
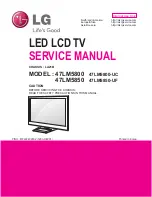
M1950D
Brand: LG Pages: 88
M2450D
Brand: LG Pages: 108

L46S3D13N
Brand: Pioneer Pages: 82
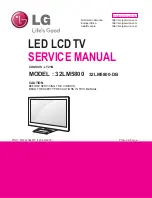
42LM5800
Brand: LG Pages: 46

Viera TC-L47ET5
Brand: Panasonic Pages: 199
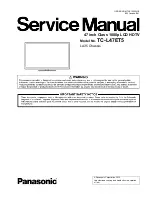
Viera TC-L47ET5
Brand: Panasonic Pages: 78
47LM5800
Brand: LG Pages: 44
42LM5800
Brand: LG Pages: 93


