LG 26LD350C, Owner'S Manual
The LG 26LD350C is a high-quality commercial-grade television that offers exceptional picture clarity and a sleek design. Unlock the full potential of this product by accessing the comprehensive Owner's Manual, available for free download on our website. Discover the manual's easy-to-follow instructions and helpful tips to enhance your viewing experience.
Share
Download


Reviews:
No comments
Related manuals for 26LD350C
HE26A44HA
Brand: Haier Pages: 44

8700
Brand: Samsung Pages: 73
Viera TC-P42X1
Brand: Panasonic Pages: 77

TC-55FZ1000C
Brand: Panasonic Pages: 76

Viera TC-P50VT20
Brand: Panasonic Pages: 72
Viera TC-L50ET60
Brand: Panasonic Pages: 24
Viera TC-L65WT600
Brand: Panasonic Pages: 28
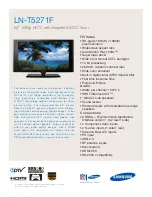
LN-T5271F
Brand: Samsung Pages: 2
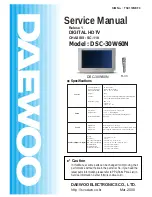
DSC-30W60N
Brand: Daewoo Pages: 73
DSC-30W60N
Brand: Daewoo Pages: 2

56-inch
Brand: Gateway Pages: 62
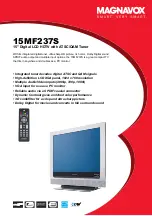
15MF237S - Hook Up Guide
Brand: Magnavox Pages: 3
32FD545
Brand: FUNAI Pages: 36
NS-46L780A12
Brand: Insignia Pages: 2
M55-C2
Brand: Vizio Pages: 68
LE2439D
Brand: Affinity Pages: 36
50ML8305D/17
Brand: Magnavox Pages: 49
76WSHDA
Brand: Palsonic Pages: 39


