Please read this manual carefully before operating
your set.
Retain it for future reference.
Record model number and serial number of the set.
See the label attached on the back cover and quote
this information to your dealer
when you require service.
Note: All features shown within this guide may not be available
on all models.
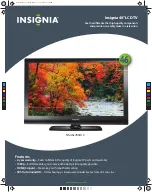
LCD TV
OWNER’S MANUAL
Hospital Grade Models
22LG3DCH 26LG3DCH 32LG3DCH
Lodging Grade Model
32LG3DC
Installer Reference for Commercial Mode
Commercial Mode Setup see pages 91-110
Channel Banks Setup see pages 87-90
Pillow Speaker Setup see page 29
MPI/PPV Card Setup see page 20
P/NO : SAC30708037 (0810-REV00)
www.lgcommercial.com