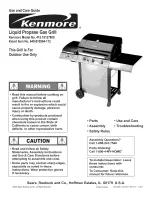
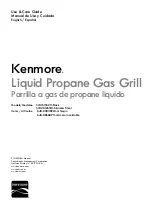
Kenmore 415.16127800, Use And Care Manual
The Kenmore 415.16127800 is an exceptional appliance that will revolutionize your cooking experience. To ensure you maximize its full potential, it's crucial to have the Use and Care Manual handy. Download the comprehensive manual for free at manualshive.com, providing you all the essential instructions and tips.
Share
Download


Reviews:
No comments
Related manuals for 415.16127800
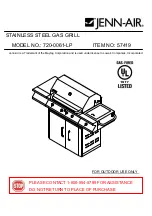
720-0061-LP
Brand: Jenn-Air Pages: 27
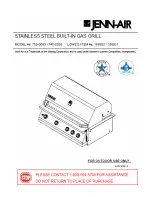
750-0593
Brand: Jenn-Air Pages: 35
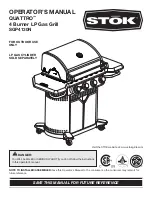
QUATTRO SGP4130N
Brand: STOK Pages: 84
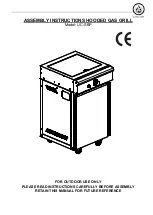
UC-SBP
Brand: Ultra chef Pages: 13
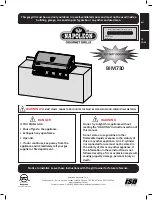
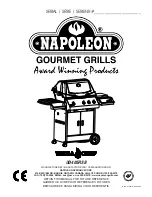
BIM730
Brand: Napoleon Pages: 60
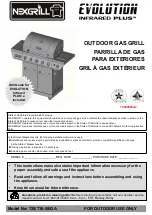
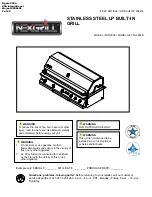
720-0896C
Brand: Nexgrill Pages: 30
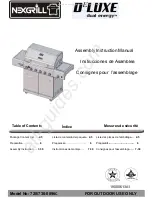
720-0882AE
Brand: Nexgrill Pages: 71
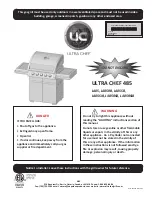
ultra chef 485 series
Brand: Napoleon Pages: 100
740-0594A
Brand: Nexgrill Pages: 24
Ultra chef UD405RSB
Brand: Napoleon Pages: 39
146. 34611411
Brand: Kenmore Pages: 31
148.16156211
Brand: Kenmore Pages: 74

Ultra chef UD405RSB
Brand: Napoleon Pages: 2
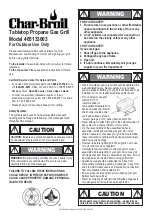
465133003
Brand: Char-Broil Pages: 8
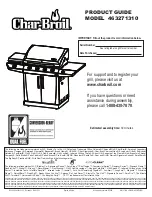
463271310
Brand: Char-Broil Pages: 32
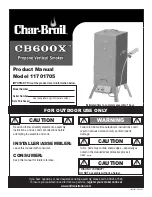
11701705
Brand: Char-Broil Pages: 24
30100061
Brand: Mayer Barbecue Pages: 12

463722315
Brand: Char-Broil Pages: 64


