
Use & Care Guide
Manual de Uso y Cuidado
English / Español
Kenmore Elite
®
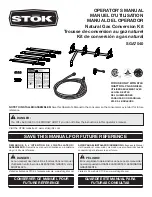
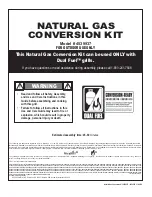
Natural Gas Conversion Kit
Paquete de conversion a gas natural
Model /Modelo : 34562
Item /Articulo : 500-06277531-7
P/N 30800339
B
Sears Brands Management Corporation
Hoffman Estates, IL 60179 U.S.A.
www.kenmore.com
www.sears.com
www.kmart.com
®