Kenmore 175.6010, Installation & Use Manual
The Kenmore 175.6010 is a versatile and efficient appliance designed to simplify your daily tasks. Whether you're installing or using this product, the comprehensive "Installation & Use Manual" is essential. You can easily find and download the manual for free from our website, helping you maximize the benefits of owning this incredible device.
Share
Download


Reviews:
No comments
Related manuals for 175.6010
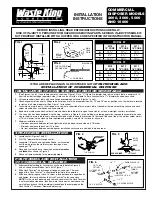
2000
Brand: Waste King Pages: 10

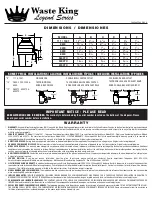
3300
Brand: Waste King Pages: 2
1001
Brand: Waste King Pages: 2

B300
Brand: Bartell Global Pages: 20
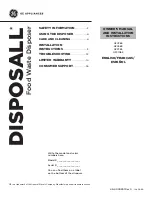
DISPOSALL GFC365
Brand: GE Pages: 44

830048
Brand: HJH office Pages: 12
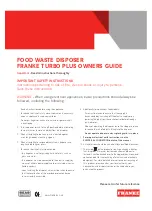
TURBO PLUS
Brand: Franke Pages: 8
HBG 2.0
Brand: HOMEBIOGAS Pages: 48
J-5000 SM-P 200 ABV
Brand: Jatco Pages: 5

0116261
Brand: Weber mt Pages: 28
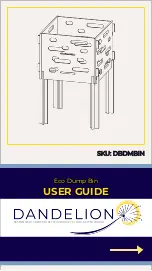
DBDMBIN
Brand: DANDELION Pages: 7
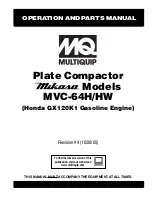
Mikasa MVC-64H
Brand: MQ Multiquip Pages: 72
DISPOSALL GFC320N
Brand: GE Pages: 48
Badger 5
Brand: InSinkErator Pages: 14

5300100020
Brand: FreezyBoy Pages: 52
GFB760F
Brand: GE Pages: 24

CR 8
Brand: Weber mt Pages: 28

COMPACT+
Brand: Vernacare Pages: 42


