Husqvarna DT22, Operator'S Manual
The Husqvarna DT22 Operator's Manual is a must-have for any user of this powerful tool. With easy-to-follow instructions and maintenance guidelines, our free manual ensures efficient and safe operation. Download it from manualshive.com and unlock the full potential of your Husqvarna DT22, hassle-free.
Share
Download


Reviews:
No comments
Related manuals for DT22
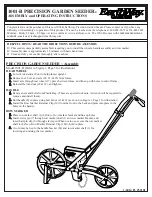
1001-B
Brand: EarthWay Pages: 5
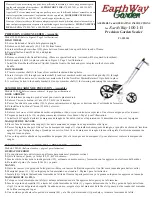
1001-B
Brand: EarthWay Pages: 5
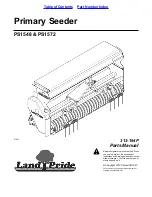
PS1548
Brand: Land Pride Pages: 34

SPS20
Brand: Land Pride Pages: 30
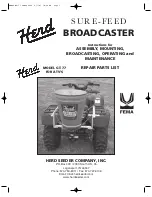
GT-77
Brand: Herd Pages: 8
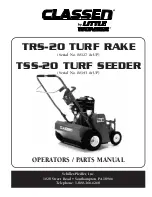
Classen TRS-20
Brand: Little Wonder Pages: 18

ATV-48ATVPS
Brand: Field Tuff Pages: 15

Brillion SSB
Brand: Landoll Pages: 102
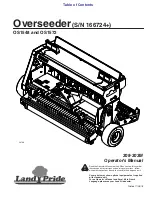
OS1548
Brand: Land Pride Pages: 66

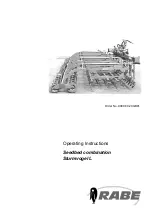
Sturmvogel L Series
Brand: Rabe Pages: 12

HAYBUSTER 107C DRILL
Brand: Duratech Pages: 166
Sturmvogel 4500 L
Brand: Rabe Pages: 12
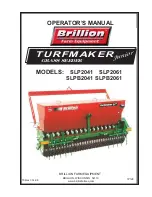
TURFMAKER Junior SLP2041
Brand: Brillion Pages: 42
PE 250
Brand: Gaspardo Pages: 42

3S-3000-3210
Brand: GREAT PLAINS Pages: 118

23511
Brand: Toro Pages: 24

Seeder none
Brand: King Kutter Pages: 28
PS1572
Brand: Land Pride Pages: 34


