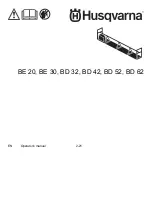
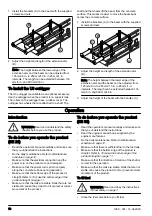
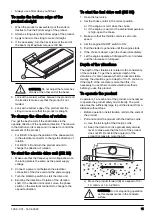
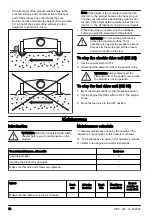
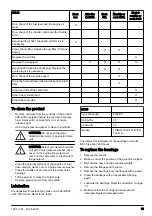
Husqvarna BD 32, Operator'S Manual
The Husqvarna BD 32 chainsaw offers superior cutting performance and reliability, making it an essential tool for both homeowners and professionals. Ensure safe and efficient operation by downloading the free Operator's Manual from manualshive.com. This comprehensive manual provides step-by-step instructions, maintenance tips, and troubleshooting guides to maximize your chainsaw's lifespan and performance.
Share
Download


Reviews:
No comments
Related manuals for BD 32
Dynapac DR7X
Brand: Fayat Pages: 110

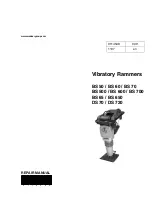
BS Series
Brand: Wacker Neuson Pages: 50
DS 70
Brand: Wacker Neuson Pages: 50
BCF1570
Brand: Bartell Pages: 26

PORTAVIBE FVE44-2
Brand: Flextool Pages: 5
LT 800
Brand: Atlas Copco Pages: 28

WP 1235A
Brand: Wacker Neuson Pages: 40

SRV 650
Brand: Weber mt Pages: 24
SRE 300
Brand: Weber mt Pages: 28

MRT73
Brand: Masalta Pages: 16

R270R
Brand: MBW Pages: 56

EMR85M
Brand: Masalta Pages: 15
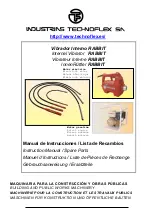
RABBIT
Brand: Technoflex Pages: 69
BS 50-4
Brand: Wacker Neuson Pages: 126

EMR70H
Brand: Masalta Pages: 14

BS 50-4s, BS 50-4As
Brand: Wacker Neuson Pages: 194
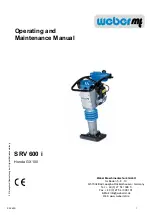
SRV 600 i
Brand: Weber mt Pages: 24

MSW-TRAM10
Brand: MSW Pages: 23


