Husqvarna 123L, Operator'S Manual
The Husqvarna 123L Operator's Manual is a comprehensive guide to help you maximize the performance of your Husqvarna 123L trimmer. With step-by-step instructions and important safety information, this manual is a valuable resource for any homeowner or professional landscaper. Download it for free from manualshive.com today!
Share
Download


Reviews:
No comments
Related manuals for 123L

ER400MP
Brand: Makita Pages: 64

99944200890
Brand: Echo Pages: 84
SuperCut 20-2
Brand: Stihl Pages: 32
EXPAND-IT ALT04G
Brand: Ryobi Pages: 12
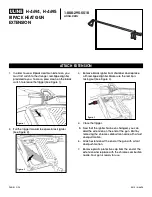
RIPACK H-4694
Brand: U-Line Pages: 2
ACR-500T
Brand: Yard Tuff Pages: 11
DuroCut 40-4
Brand: Stihl Pages: 40
SBA-P24
Brand: Shindaiwa Pages: 44
TFC 2 VB
Brand: Monosem Pages: 76
41250
Brand: Toro Pages: 32
DWOAS8HT
Brand: DeWalt Pages: 32
529351902
Brand: Husqvarna Pages: 32
Aspire P5-P4A
Brand: Husqvarna Pages: 548
Zenoah LHTZ-A
Brand: Husqvarna Pages: 2

Pro Attachment PAS-225
Brand: Echo Pages: 36
RY40006
Brand: Ryobi Pages: 26
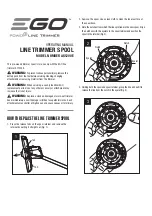
POWER+ LINE AS1200E
Brand: EGO Pages: 2
HT-CS 2
Brand: Dolmar Pages: 48


