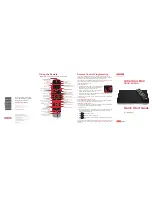
Huawei DS363, User Manual
The Huawei DS363 User Manual is available for free download on our website. This comprehensive manual provides step-by-step instructions and essential information for users, ensuring a seamless experience with the DS363 product. Discover all the features and functionalities of the Huawei DS363 by downloading the manual from manualshive.com.
Share
Download


Reviews:
No comments
Related manuals for DS363
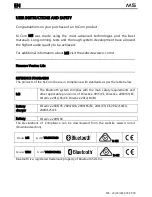
M5
Brand: N-Com Pages: 32

SB-110
Brand: Oakcastle Pages: 28
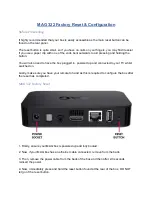
322
Brand: MAG Pages: 10
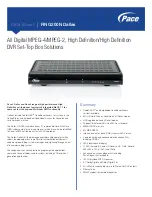
RNG200N
Brand: Pace Pages: 2
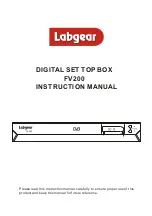
FV200
Brand: Labgear Pages: 16

GX-SM530CF
Brand: Samsung Pages: 3
SIR-T351
Brand: Samsung Pages: 52
Datacom TDT-HD140
Brand: Datacom Pages: 31

KSTB2020
Brand: Kaon Pages: 32
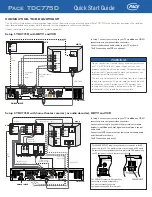
TDC775D
Brand: Pace Pages: 2

TDC777D
Brand: Pace Pages: 29

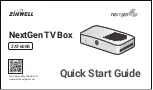
YouView
Brand: TalkTalk Pages: 24
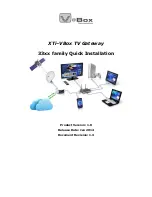
XTi-
Brand: VBOX Pages: 10
HDT-610R Wi-Fi
Brand: EchoStar Pages: 2

EtherneTV MPEG-1
Brand: VBrick Systems Pages: 58

SideWinder4
Brand: Xtreamer Pages: 2
H7
Brand: ZGEMMA Pages: 32
ZAT-600B
Brand: Zinwell Pages: 4


