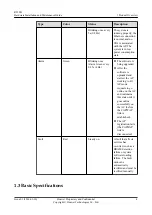
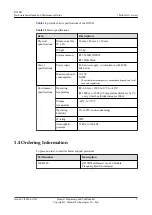
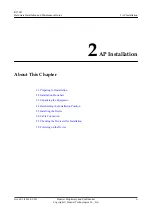
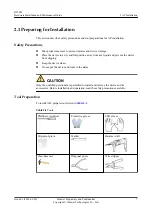
Huawei 50082920, Hardware Installation And Maintenance Manual
The Huawei 50082920 Hardware Installation and Maintenance Manual is a comprehensive guide designed to assist users in effortlessly installing and maintaining their Huawei 50082920 device. This invaluable manual can be downloaded for free on our website, ensuring easy accessibility and empowering users to optimize their product's performance.
Share
Download


Reviews:
No comments
Related manuals for 50082920

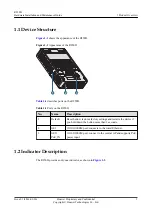
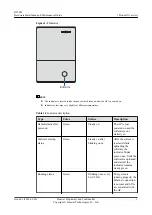
1
Brand: Qongle Pages: 13

IDS1000
Brand: IDENTEC SOLUTIONS Pages: 17

DAP-1365
Brand: D-Link Pages: 3

AP100
Brand: Watchguard Pages: 26

WS410
Brand: Wavion Pages: 66

DAP-1320
Brand: D-Link Pages: 4

DWL-8600AP
Brand: D-Link Pages: 36

DWL-8600AP
Brand: D-Link Pages: 135

AirPremier N DAP-3690
Brand: D-Link Pages: 8

AirPremier N DAP-2360
Brand: D-Link Pages: 12

AirPremier N DAP-3690
Brand: D-Link Pages: 23

AirPremier N DAP-2690
Brand: D-Link Pages: 52

AirPlus DWL-900AP+
Brand: D-Link Pages: 64

DWL-1000AP
Brand: D-Link Pages: 8

DAP-1155
Brand: D-Link Pages: 3

Air Premier DAP-2695
Brand: D-Link Pages: 39

Rangebooster N 650 Access Point DAP-1353
Brand: D-Link Pages: 67

myPocket DIR-457
Brand: D-Link Pages: 4


