HP SC44Ge, Installation Manual
The HP SC44Ge is a cutting-edge storage controller designed for high-performance data centers. For a hassle-free installation and optimal usage, make sure to download the free "HP SC44Ge Installation Manual" from our website. This comprehensive manual is readily available for download, enabling you to unlock the full potential of this remarkable product.
Share
Download


Reviews:
No comments
Related manuals for SC44Ge
4010
Brand: Qlogic Pages: 2

RocketRAID 3220
Brand: HighPoint Pages: 80
EX-6605E
Brand: Exsys Pages: 2
QLogic
Brand: EMC Pages: 104

TMC-8S0M
Brand: Future Domain Pages: 48
DC-2975 U
Brand: Dawicontrol Pages: 32

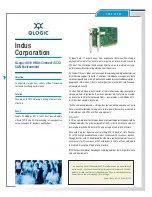
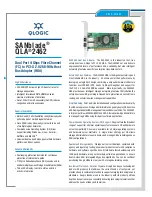
SANblade QLA2300
Brand: Qlogic Pages: 30
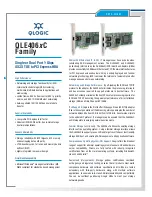
QLE4060C
Brand: Qlogic Pages: 2
PCI to USB Host Adapter 60800
Brand: LSI Pages: 10
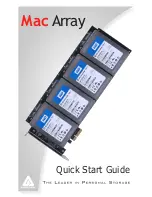
Mac Array
Brand: Apricorn Pages: 4
LSISAS3041E
Brand: LSI Pages: 46
Ultra160
Brand: LSI Pages: 54
QLA 2310F
Brand: Qlogic Pages: 18
SANblade QLA 2462
Brand: Qlogic Pages: 2
KZPCM
Brand: Digital Equipment Pages: 74

ExpressSAS R380
Brand: ATTO Technology Pages: 2
Host Card
Brand: Magma Pages: 32
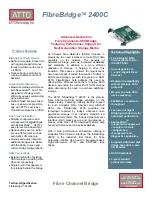
FibreBridge 2400C
Brand: ATTO Technology Pages: 2


