HP FB142AA, Product Manual
The HP FB142AA Product Manual is your comprehensive guide to maximize the potential of your device. Discover step-by-step instructions, troubleshoot common issues, and unlock all the features effortlessly. Download this essential manual for free from our website to get started with your HP FB142AA.
Share
Download


Reviews:
No comments
Related manuals for FB142AA
J Series
Brand: Datalogic Pages: 2
Dolphin 9500 Series
Brand: HandHeld Pages: 264
MOBILEPRO 780 -
Brand: NEC Pages: 186
NVM-DFx
Brand: NEC Pages: 8
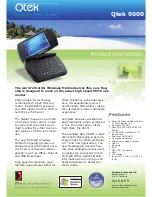
9000
Brand: QTek Pages: 2
MOBILEPRO 770 -
Brand: NEC Pages: 2

Endurance II BND9-2
Brand: Baby Lock Pages: 60

V
Brand: Palm Pages: 8

V
Brand: Palm Pages: 8

Skorpio
Brand: Datalogic Pages: 71

PowerScan PM8300
Brand: Datalogic Pages: 2
Falcon X4
Brand: Datalogic Pages: 2

Skorpio X3
Brand: Datalogic Pages: 3

DL-Axist
Brand: Datalogic Pages: 52
Falcon X4
Brand: Datalogic Pages: 2

PA500
Brand: Unitech Pages: 123

NOMAD
Brand: TDS Pages: 38
M3 BLACK
Brand: M3 Mobile Pages: 12


