background image

1

HP Designjet 3D Material Bay

Assembly Instructions

HP Designjet 3D Material Bay

Instructions d’assemblage

HP Designjet 3D Material Bay

Montageanleitungen

HP Designjet 3D Material Bay

Istruzioni di assemblaggio

HP Designjet 3D Material Bay

Instrucciones de montaje

HP Designjet 3D Material Bay

組立説明書

HP Designjet 3D Material Bay

组装说明

CQ708-90001

CQ708-90001

Read these instructions carefully...

Because of the weight of the printer you will need two people to install the material bay. When more than one person is 

needed the symbol below is displayed.

Lisez attentivement les instructions suivantes...

En raison du poids de l’imprimante, deux personnes sont nécessaires pour installer la baie de matériau. Lorsque plus d’une 

personne est nécessaire, le symbole ci-dessous est affiché.

Lesen Sie diese Anleitung sorgfältig durch...

Für die Montage des Materialfachs sind aufgrund des hohen Gewichts des Druckers zwei Personen nötig. Wenn mehr als 

eine Person gebraucht wird, wird das folgende Symbol angezeigt.

Leggere queste istruzioni attentamente...

A causa del peso della stampante, sarà necessario l'aiuto di un'altra persona per installare l'area materiali. Ogniqualvolta 

occorrerà l'aiuto di un'altra persona verrà visualizzato il seguente simbolo.

Lea atentamente estas instrucciones...

Debido al peso de la impresora, son necesarias dos personas para instalar el compartimento de material. Cuando se 

necesite más de una persona, se mostrará el símbolo a continuación.

説明書をよくお読みください

...

このプリンタは重量がありますので、材料ベイのインストールは

 2 

人で行ってください。複数の人数が必要な手順には、

下のマークが表示されています。

请仔细阅读以下说明

...

由于打印机很重,需要两个人来安装材料分隔间。如果需要多个人,则会显示下面的符号。

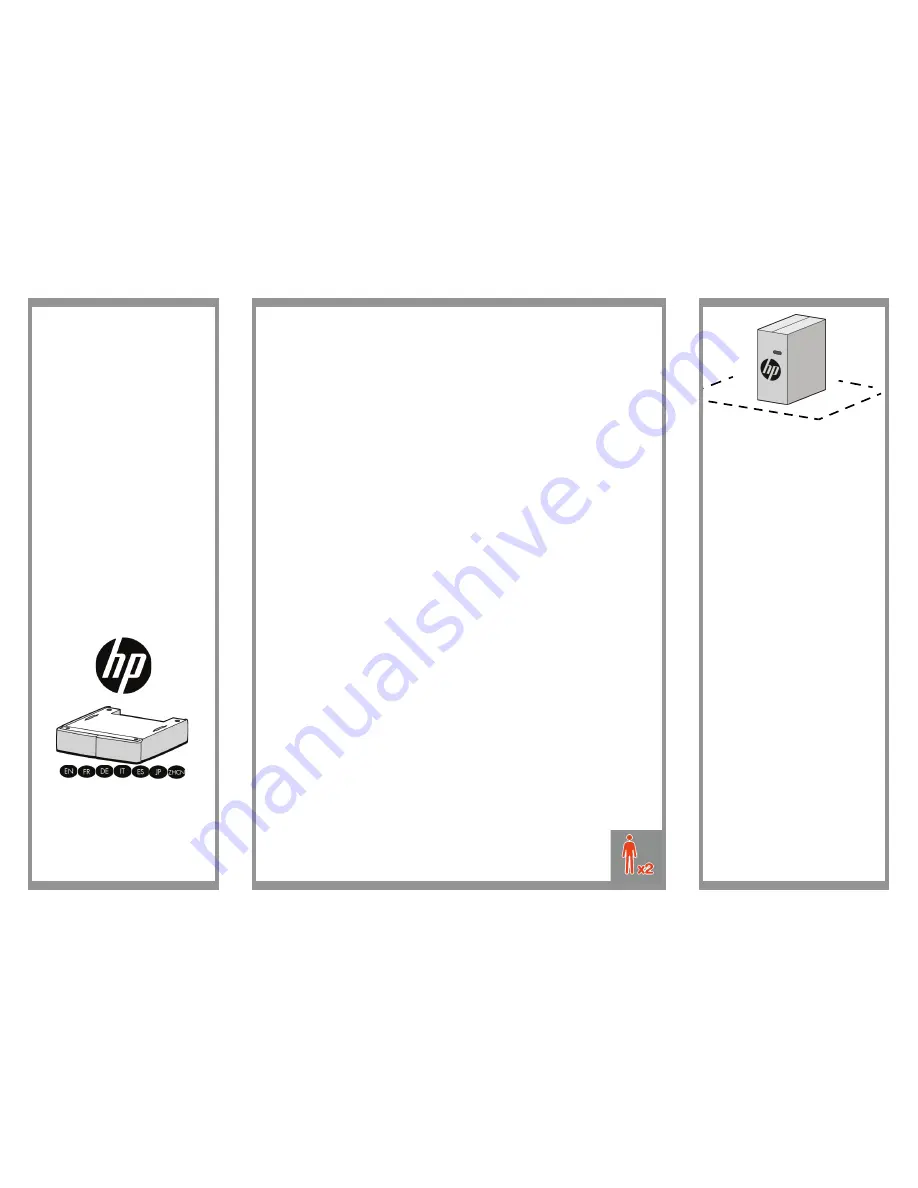
To unpack the material bay you will need at least 1 x 2 

m (40 x 80 in) of work space.

Pour déballer la baie de matériau, vous aurez besoin 

d’un espace de travail d’au moins 1 x 2 m. 

Zum Auspacken des Materialfachs benötigen Sie 

mindestens 1 m x 2 m Arbeitsfläche.

Per estrarre l'area materiali dalla confezione occorre 

uno spazio di lavoro di almeno 1 x 2 m (40 x 80 

pollici).

Para desembalar el compartimento de material 

necesitará por lo menos un espacio de 1 x 2 m (40 x 

80 pulgadas).

材料ベイを開梱するには、最低

 1 x 2 m (40 x 80 

ンチ

のスペースが必要です。

要拆开材料分隔间包装,至少需要

 1 x 2 

40 x 80 

英寸)的工作空间。

2 m

1 m

Summary of Contents for DESIGNJET 3D

Page 1: ... Symbol angezeigt Leggere queste istruzioni attentamente A causa del peso della stampante sarà necessario l aiuto di un altra persona per installare l area materiali Ogniqualvolta occorrerà l aiuto di un altra persona verrà visualizzato il seguente simbolo Lea atentamente estas instrucciones Debido al peso de la impresora son necesarias dos personas para instalar el compartimento de material Cuand...

Page 2: ...g beiseite eine 1 Stützmaterialkassette Legen Sie diese zur späteren Verwendung beiseite eine 1 leeres Feld für den Versand Aprire la scatola poggiarla sul lato ed estrarre il contenuto Questa scatola contiene Una 1 area materiale con cavo di comunicazione e tubi di materiale Una 1 cartuccia del materiale per il modello Mettere da parte per un uso futuro Una 1 cartuccia del materiale per il suppor...

Page 3: ...ehmen Sie das Materialfach aus der Schutzhülle Rimuovere l area materiali dalla custodia protettiva Retire el compartimento de material de la bolsa protectora 保護用バッグから材料ベイを取り出します 从保护袋中取出材料分隔间 4 Unfold the 2 tabs of the material bay cardboard insert and open Dépliez les 2 pattes de l insertion en carton de la baie de matériau et ouvrez Klappen Sie die beiden Laschen des Kartoneinschubs am Materialf...

Page 4: ...trambi Nota l operazione di scaricamento potrebbe richiedere fino a 5 minuti Pulse Descargar ambos Nota el proceso de descarga puede tardar hasta 5 minutos 両方アンロード を押します 注意 アップロードには最大で 5 分かかります 按卸载两种 注意 取出材料最多需要 5 分钟的时间 9 Open material bay doors and remove model and support material carriers Ouvrez les portes de la baie de matériau et retirez les cartouches de matériau pour le modèle et le support...

Page 5: ...o de guía de material Repita el proceso para el cartucho de soporte モデルカートリッジを開き 材料ガイドチューブのと ころで材料を 6 5mm 0 25 インチ 残して 巻き戻します サポートカートリッジも同様に 巻き戻します 打开模型托架并将材料向后退 在材料导管处留出 6 5 毫米 0 25 英寸 的材料 对于支持托架 请重 复此步骤 11 Turn the power switch to the off O postion Mettez l interrupteur sur la position d arrêt O Schalten Sie den Netzschalter in die Stellung AUS O Portare l interruttore di alimentazione in posizi...

Page 6: ...del supporto e dall area materiali S premendo l anello accoppiatore verso l interno ed estraendo il tubo Desconecte el tubo de material de soporte S1 en el conector en Y del soporte S y el compartimento de material S ejerciendo presión en el anillo del acoplador y tirando del tubo para extraerlo カップラーリングを押してチューブを引き抜きなが ら サポート Y 字コネクタ S と材料ベイ S か らサポート材料チューブ S1 を取り外します 按压联结器环并将支撑材料管 S1 向外拉 以使其在 支撑 ...

Page 7: ...ne Materialfach und richten Sie dabei Stifte und Standfüße wie gezeigt aus Posizionare la seconda area materiali al di sopra della prima allineando perni e piedini come illustrato Ponga el segundo compartimento de material encima del primer compartimento de material alineando las patas y patillas como se muestra 図のようにピンと足を合わせながら 1 台目の材料ベイの上に 2 台目の材料ベイを置きます 将第二个材料分隔间放在第一个材料分隔间上面 并对齐销钉和支脚 如图所示 20 Wi...

Page 8: ...ungsstück M des Materialfachs Schließen Sie das andere Ende an die linke Seite des Modellmaterial Y Anschlusses M am Drucker an indem Sie es fest in die roten Verbindungsstücke drücken Ziehen Sie vorsichtig an der Röhre um sicherzustellen dass sie ordnungsgemäß verbunden ist Anmerkung Modellmaterial verwendet immer ein M und die Farbe Rot Stützmaterial verwendet immer ein S und die Farbe Schwarz S...

Page 9: ...o i tubi di materiale più lunghi M2 ed S2 forniti con l area materiali Repita los pasos 22 y 23 con los tubos de material largos M2 y S2 suministrados con el compartimento de material 材料ベイに梱包されていた長い方の材料チューブ M2 と S2 を使って 手順 22 と手順 23 を繰り返 します 如果使用材料分隔间附带的长材料管 M2 和 S2 请重复步骤 22 和 23 26 Locate material bay cable that was shipped with the material bay Localisez le câble de la baie de matériau qui a été...

Page 10: ...pante e la presa di uscita dell alimentazione dedicata Vuelva a conectar el cable de corriente entre la parte posterior de la impresora y la toma de corriente exclusiva プリンタの背面と専用コンセントを電源コードで再び 接続します 在打印机后面和专用电源插座之间重新连接 电源线 30 Reconnect network cable between network port and network connection at rear of printer Reconnectez le câble réseau entre le port réseau et la connexion réseau à l arrière de...

Page 11: ...talla presione Material En la pantalla se mostrará Agregar Quitar 表示パネルの 材料 を押します 追加 除去 が表示されます 从显示面板中 按材料 显示屏将显示添加 删除 35 Open material bay doors and push both support carriers black handles into left side of the material bays until they latch click Push both model carriers red handles into right side of the material bay until they latch click Ouvrez les portes des baies de matériau et poussez les...

Page 12: ...ら 完了 を押します ア イドル と材料の残量が表示されます 注意 材料がロードされている最中は 材料ベイの LED が点灯し続けます 装填完材料后 按完成 显示屏将显示空闲和剩余材 料量 注意 在装填材料后 材料分隔间上的 LED 指示灯将 亮起 Legal Notice 2010 Hewlett Packard Development Company L P The information contained herein is subject to change without notice The only warranties for HP Products and services are set forth in the express warranty statement accompanying such products and services Nothing her...

Reviews: