background image

Before operating please read all these instructions thoroughly.
Bitle lesen Sie diese Bedienungsanleitung vor der Inbetriebnahme sorglälting durch.
Veuiltez lire ces instructions dans le detail avant de meltre l’appareil en fonction.
Antes de ponerio en funcionamiento lea la totalidad de estas instrucciones.
Prima dell’uso, leggere attentamente le seguenti istruzioni.
Lees deze gebruiksaanwijzing aandachtig door alvorens dit toestel in gebruik te nemen.
Läs dessa anvïsningar noga, innan du borjar att använda apparaten.
Læs venligst instruktioneme igennem, før De tager apparatet i brug.

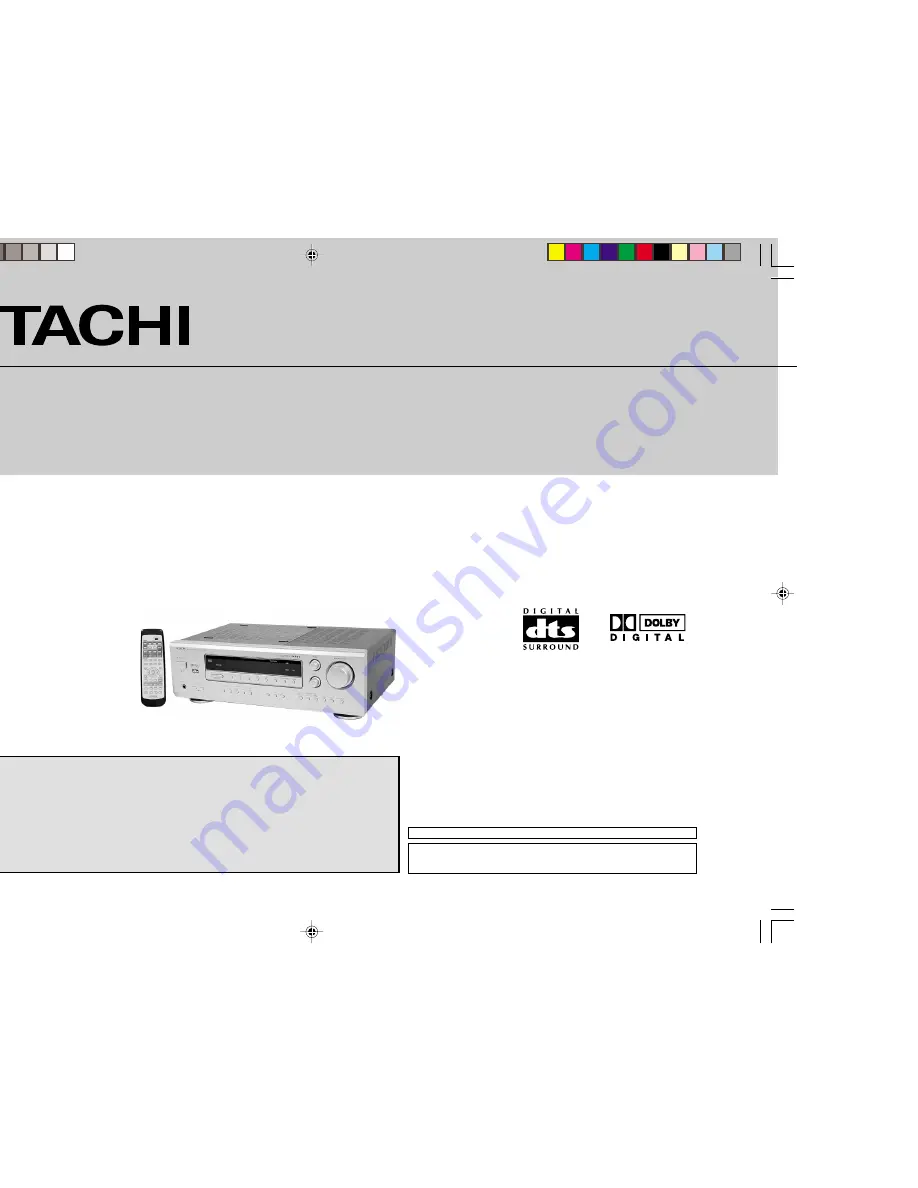
AV SURROUND RECEIVER

HTA-DD3E/EBS/W/WUN/WAU

Instruction Manual

Manufactured under license from Dolby Laboratories.
“Dolby” , “Pro Logic” and the double D symbol are trademarks of Dolby Laboratories.
Confidential Unpublished Works. © 1992-1997 Dolby Laboratories, Inc. All rights reserved.

“DTS” and “DTS Digital Surround” are trademarks of Digital Theater Systems. Inc.

 *1_Front Cover HTA-DD3E

7/29/02, 3:40 PM

1

Summary of Contents for HTADD3E

Page 1: ...anwijzing aandachtig door alvorens dit toestel in gebruik te nemen sa anvïsningar noga innan du borjar att använda apparaten ligst instruktioneme igennem før De tager apparatet i brug URROUND RECEIVER DD3E EBS W WUN WAU on Manual Manufactured under license from Dolby Laboratories Dolby Pro Logic and the double D symbol are trademarks of Dolby Laboratories Confidential Unpublished Works 1992 1997 D...

Page 2: ... could cause ck or a fault ical storm is present unplug the power cord and disconnect the antenna should not be exposed to dripping or splashing binets and panels when dirty clean off dirt on the surfaces with a soft dry e thinner benzene or alcohol as these will damage the surface finish against excessive heat e g direct sunlight dust and moisture o damage the power supply cord Be sure to hold th...

Page 3: ...d audio equipment is used independently without turning s unit on If this happens turn on the power of the unit R L OUTPUT R L OUTPUT PRE OUT jack OPITCAL Turntable MM cartridge nnel SUB WOOFER CENTER NE IN Tape deck or MD LINE OUT Ground wire LINE OUT CD player AC CORD AC 230 V 50 Hz S AM LOOP ANTENNA An Accessory DIRECTION OF BROADCASTING STATION FM ANTENNA 75 Ω ohms COAXIAL CABLE FM INDOOR ANTE...

Page 4: ...ck AUDIO IN AUDIO OUT VIDEO OUT AUDIO OUT VIDEO OUT VIDEO IN NOTE Please connect to either theVIDEO IN OUT SVIDEO IN OUT or COMPONENTVIDEO IN OUT terminal depending on your video component The signal from the VIDEO IN S VIDEO IN and COMPONENT VIDEO IN terminals comes from theVIDEO OUT SVIDEO OUT and COMPONENT VIDEO OUT terminals respectively For example the signal from the VIDEO IN terminal does n...

Page 5: ...touch the speaker terminals when the power is on Doing so could result in electric shocks _ _ _ L R L R _ _ CENTER SPEAKER SYSTEM FRONT SPEAKER SYSTEMS System A SURROUND SPEAKER SYSTEMS Precautions when connecting speakers If a speaker is placed near a TV or video monitor the colors on the screen may be disturbed by the speaker s magnetism If this should happen move the speaker away to a position ...

Page 6: ...he speaker ff Turn off the set s power wait for the set to cool down improve the ventilation around urn the power back on Front Panel 1 Power operation switch 2 Headphones jack PHONES 3 Front SPEAKER A B buttons 4 TUNING UP DOWN buttons 5 MEMORY button 6 MODE button 7 BAND button 8 PTY button 9 RT button 10 RDS button 11 DOLBY DTS SURROUND button 12 DSP SIMULATION button 13 MULTI STEREO button 14 ...

Page 7: ...Configuration Delay Time Input the combination of speakers in your system and their corresponding sizes SMALL for regular speakers LARGE for full size full range to automatically set the composition of the signals output from the speakers and the frequency response This parameter is for optimizing the timing with which the audio signals are produced from the speakers and subwoofer according to the...

Page 8: ...to switch to the subwoofer setting NOTES When Small has been selected for the front speakers Large cannot be selected for the surround speakers When None has been selected for the center speaker None cannot be selected for the surround speakers STEREO mode does not have this setting 4 Use the up and down buttons to select your subwoofer setting Press the NEXT button to enter the settings and switc...

Page 9: ... yes Press the NEXT button to switch to the center speaker setting Use the up and down buttons to set the distance from the center speakers to the listening position The number changes in units of 0 3 metres each time one of the buttons is pressed Select the value closest to the measured distance Press the NEXT button to switch to the surround speaker setting None has been selected for the center ...

Page 10: ...ng in the POWER button of the components DVD MD TAPE VCR or TV you want to set press the button for the corresponding manufacturer in block A Refer to Table 1 3 Next while holding in the POWER button press the button for the code in block B Refer to Table 1 4 To continue registering other components repeat steps 1 to 3 NOTE This remote control unit can only operate HITACHI s CD player at CD positi...

Page 11: ...there is no operation when set to a please change the setting to b or c and try again Before operating Preparations Check that all connections are proper 1 Set to the center position 2 Turn on the power Press the power operation switch button ON STANDBY When the button is pressed the power turns on and the display lights after approximately 1 second When pressed again the power turns off the stand...

Page 12: ...put mode 3 Check that the DIGITAL indicator is lit When digital signals are input properly the LOCK indicator is lit If the LOCK indicator is not lit check that the system setup s input setting refer to page 7 and the connections are proper that the component s power is turned on etc It is not possible to switch to the digital input mode if input sources do not have digital setting 4 Start playbac...

Page 13: ...erminals Before playing with the surround function Before playing with the surround function be sure to use the test tones to adjust the playback level from the different speakers This adjustment can be performed with the remote control unit as described below Adjusting with the remote control unit using the test tones is only effective in the DOLBY PRO LOGIC DOLBY DIGITAL and DTS modes The adjust...

Page 14: ...he DIGITAL input mode Check that the LOCK indicator lights up 3 Select your preferred playback mode see table below 4 Start playback on the selected component For operating instructions refer to the various components manuals 5 Check that the indicators for your selected playback light up DVD FUNCTION INPUT MODE 5 3 2 DOLBY D I G I TA L 1 There are 5 types of digital input mode PCM 2 ch Audio 32 k...

Page 15: ... four Dolby Surround Pro Logic modes NORMAL PHANTOM WIDE and 3CH LOGIC This unit sets the mode automatically according to the types of speakers set during the system setup process VCR DOLBY DTS SURROUND SURR MODE PRO LOGIC MAIN VOLUME MASTER VOL BASS TREBLE 1 4 2 2 1 4 4 DOLBY D I G I TA L MD DVD DVD TV A B HTA MD TAPE TAPE VCR CD MD DVD FUNCTION MD TAPE MON POWER VCR VCR TAPE CD PRESET GROUP CHAN...

Page 16: ...e default setting 9 To reset the settings to the factory defaults use the up and down buttons to display Yes then press the SURROUND button twice The settings are entered and the surround parameter setting mode is finished Press the SURROUND button to finish the setting Press the NEXT button to switch to the D COMP setting 2 Surround Parameters D COMP Dynamic Range Compression Motion picture sound...

Page 17: ...om the left surround channel the signals of the front right channel are output from the right surround channel and the same in phase component of the left and right channels is output from the center channel This mode provides all speaker surround sound but without directional steering effects and works with any stereo program source 4 MONO MOVIE Select this when watching monaural movies for a gre...

Page 18: ...s been set to finish the setting Press the NEXT button to switch to the room size or delay time setting 2 Surround Parameters ROOM SIZE Room size refers to the size of the sound field There are three parameters Small Medium Large EFFECT LEVEL Effect level refers to the strength of the effect sounds If the sound becomes distorted lower the level Parameters 1 15 DELAY TIME This can be set to between...

Page 19: ...UNER 2 Watching the display press the BAND button to select the desired band AM or FM 3 Press the MODE button to set the auto tuning mode 4 Press and hold the TUNING UP or DOWN button for one second Automatic searching begins then stops when a station is tuned in or if the TUNING UP or DOWN button is pressed during the search NOTE When in the auto tuning mode on the FM band the STEREO indicator li...

Page 20: ... UP CHANNEL A B PE CR DVD FUNCTION MD TAPE MON PRESET GROUP CHANNEL CHANNEL 1 2 DVD TV A B PE VCR DVD FUNCTION MD TAPE MON VCR PRESET GROUP CHANNEL CHANNEL DISPLAY MASTER VOL 2 3 4 GROUP GROUP RDS Radio Data System RDS works only on the FM band is a broadcasting service which allows station to send additional information along with the regular radio program signal The following three types of RDS ...

Page 21: ... the input function to TUNER 2 Press the RDS button until PTY SEARCH appears on the display 3 Watching the display press the PTY button to call out the desired program type 4 Press the TUNING PRESET UP or DOWN button to automatically begin the PTY search operation If there is no station broadcasting the designated program type with above operation all the reception bands are searched 5 The station...

Page 22: ... LAST FUNCTION MEMORY This unit is equipped with a last function memory which stores the input and output setting conditions as they were immediately before the power is switched off The unit is also equipped with a back up memory This function provides approximately one week of memory storage when the main unit s power switch is off and with the power cord disconnected INITIALIZATION OF THE MICRO...

Page 23: ...ontrol unit too far from this unit Obstacle between this unit and remote control unit Different button is being pressed e and d ends of battery inserted in reverse Measures Check the insertion of the power cord plug Connect securely Set to a suitable position Turn volume up to suitable level Switch off MUTING Input digital signals or select input jacks to which digital signals are being input Swit...

Page 24: ... 1 kHz 3V ximum output 150 mV 7V and impedance 1 Vp p 75 Ω ohms nse 5 Hz 10 MHz 1 3 dB and impedance Y 1 Vp p C 0 286 Vp p nse 5 Hz 10 MHz 1 3 dB and impedance Y 1 Vp p CB 0 7 Vp p CR 0 7 Vp p nse 5 Hz 10 MHz 1 3 dB FM note µV at 75Ω ohms 0 dBF 1 10 15 W AM 87 50 MHz 108 00 MHz 0 05 MHz step 522 kHz 1611 kHz 9 kHz step y 2 0 µV 17 2 dBf 600 µV nsitivity STEREO 23µV 38 5 dBf MONO 80 dB IHF A weight...

Page 25: ... ITALY Tel 39 02 487861 Tel 39 02 38073415 Servizio Clienti Fax 39 02 48786381 2 Email customerservice italy hitachi eu com HITACHI Europe AB Box 77 S 164 94 Kista SWEDEN Tel 46 0 8 562 711 00 Fax 46 0 8 562 711 13 Email csgswe hitachi eu com HITACHI EUROPE S A S Lyon Office B P 45 69671 BRON CEDEX FRANCE Tel 04 72 14 29 70 Fax 04 72 14 29 99 Email france consommateur hitachi eu com HITACHI EUROPE...

Reviews: