Hitachi HILU65203, User Manual
The Hitachi HILU65203 is a cutting-edge electronic device that takes your user experience to the next level. With its sleek design and powerful features, this product has become extremely popular. Access its user manual, free of charge, on our website for hassle-free use and efficient troubleshooting. Your ultimate guide awaits at manualshive.com.
Share
Download


Reviews:
No comments
Related manuals for HILU65203
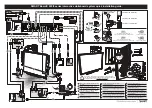
IW77
Brand: NEC Pages: 2
ELITE PANABOARD UB-T780
Brand: Panasonic Pages: 56
DTU-1141
Brand: Wacom Pages: 61
ElitePANABOARD UB-T880W
Brand: Panasonic Pages: 56
M-115
Brand: Plus Pages: 2

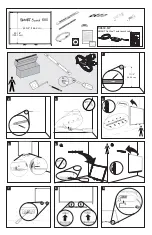
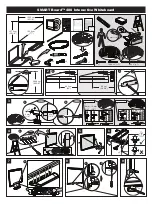
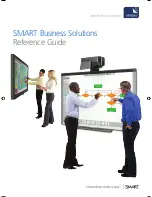
SMART Board 680i3
Brand: Smart Technologies Pages: 6
TT-BOARD PRO Series
Brand: Avtek Pages: 91
IFP6501-V7
Brand: V7 Pages: 38
SB680-MP
Brand: SMART Board Pages: 2
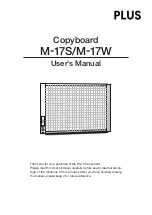
M-17S
Brand: Plus Pages: 28
Smart Board 480
Brand: SMART Pages: 2
Inforce 67X1
Brand: SMART Pages: 26
SBX885
Brand: SMART Pages: 25
600i5 series
Brand: Smart Technologies Pages: 4

V-SENSE V5503
Brand: i3TOUCH Pages: 22
eBoard
Brand: Ace Pages: 26
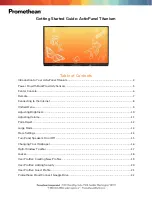
ActivPanel Titanium
Brand: promethean Pages: 62
800ie
Brand: SMART Pages: 32


