

Summary of Contents for HILF75101
Page 24: ...24 7 Product Dimensions ...
Page 27: ...27 ...
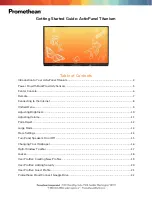
The Hitachi HILF75101 Installation Manual is a comprehensive guide that ensures smooth installation of this remarkable product. This manual is available as a free download from our website, making it convenient for users to access and refer to anytime. Explore the full potential of your Hitachi HILF75101 with our user-friendly manual.
Page 24: ...24 7 Product Dimensions ...
Page 27: ...27 ...