


PAUSE/ST
EP
PRE
V
NE
XT
-TU
NE
TUN
E+
REV
SLOW
FWD
SLOW
CLEAR
TRIM
DV-RM522
TEST TONE
SOURCE
FM MODE
PRESET
SOUND
BASS
SURROUND
MUTE
TU/BAND
RETURN
DISPLAY
PROG
TV CH
TV VOL
TV VOL
TV CH
TV/VIDEO
LAST MEMO
REPEAT
SEARCH MODE
TV POWER
ENTER
SHIFT
S
E
T
UP
T
O
P
M
EN
U
SU
BT
IT
LE
M
EN
U
0
8
7
9
+10
5
4
6
2
1
3
ANGLE
A.REPLAY
ZOOM
AUDIO
SLEEP
TIMER
ADJUST
SET/CLEAR
CLOCK
VOLUME
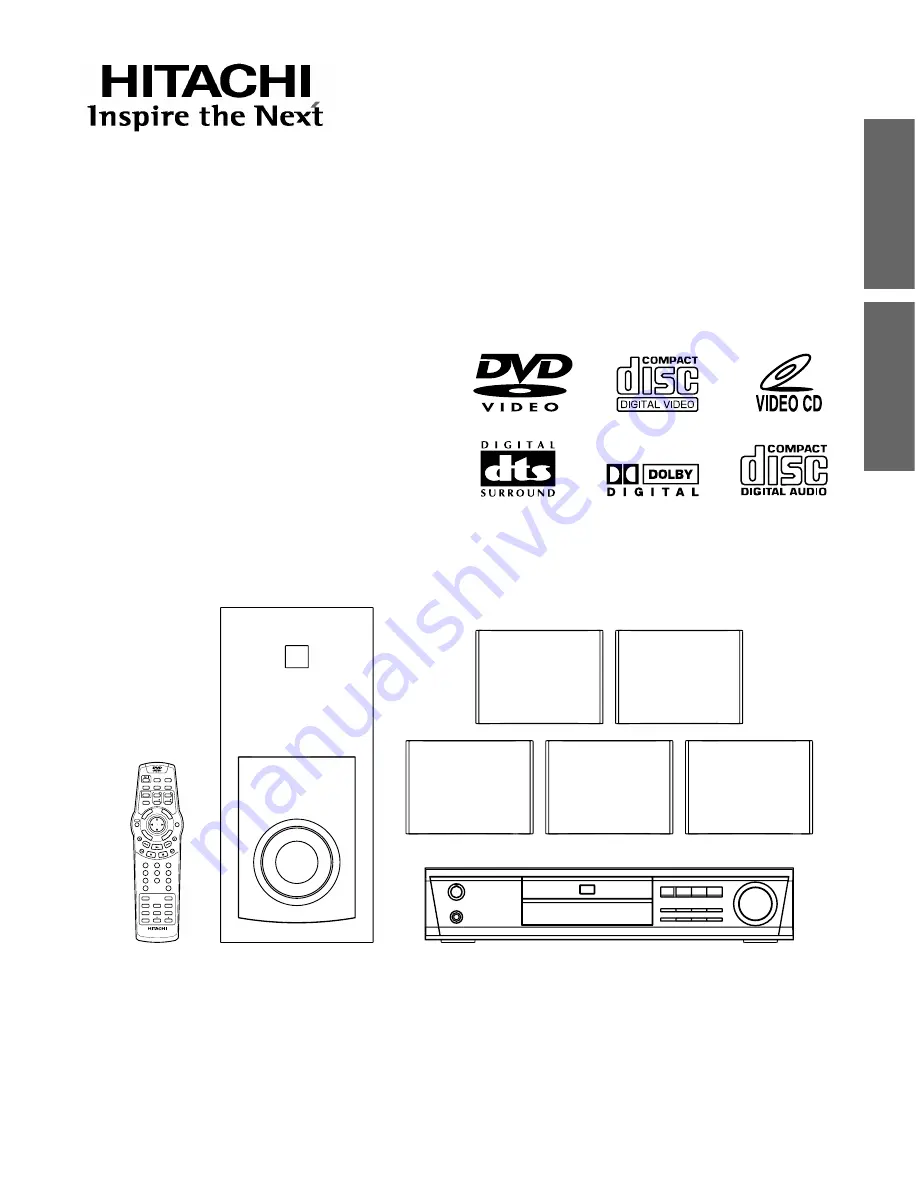
DVD HOME THEATER SYSTEM
Instruction manual
To obtain the best performance and ensure years of trouble-
free use, please read this instruction manual completely.
ENGLISH
ESP
AÑOL
MODEL
DV-S522U
Manual de instrucciones
Para obtener el mejor funcionamiento y asegurar años de uso
libre de problemas, lea cuidadosamente este manual de
instrucciones.


