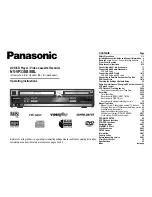
background image

English

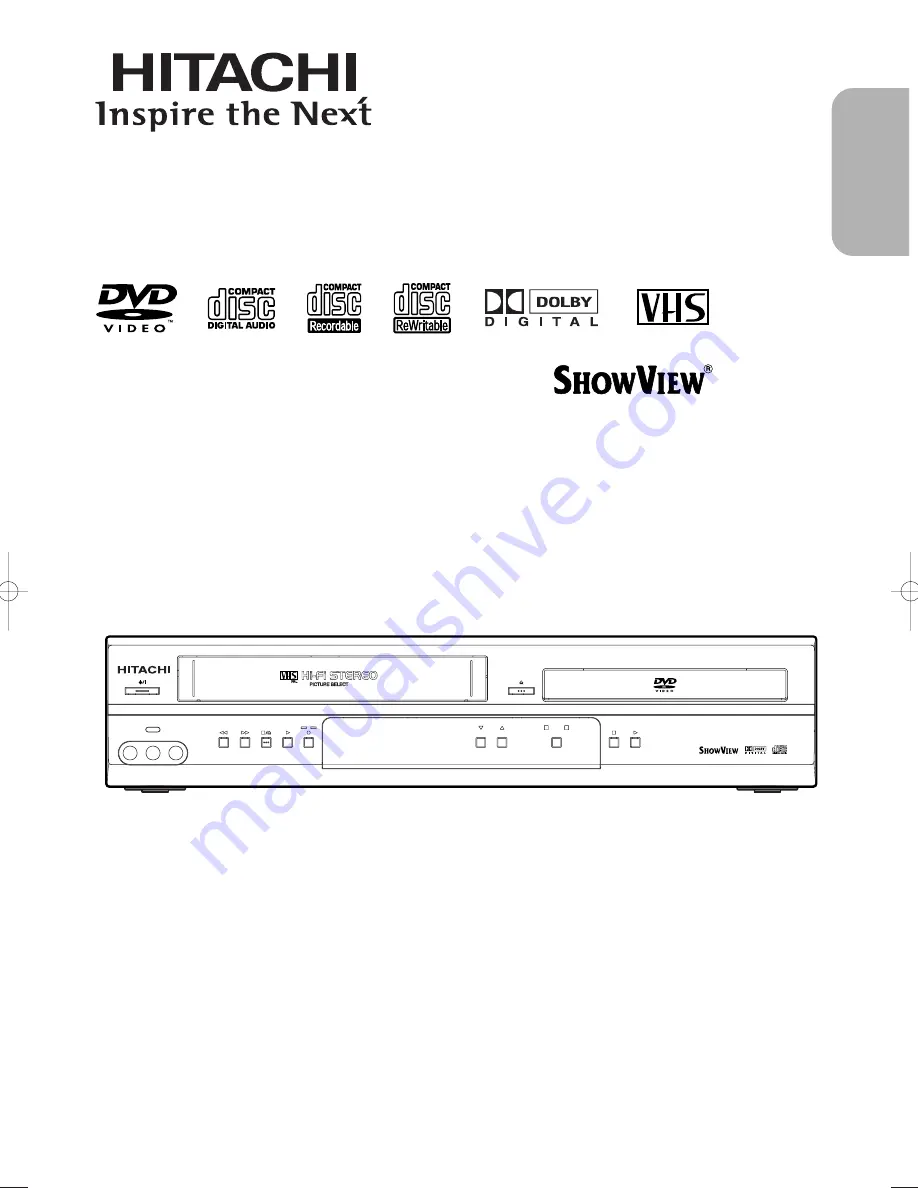
DVD/VCR Combo (DVD PLAYER with VIDEO CASSETTE RECORDER)

INSTRUCTION MANUAL

Instruction manual

To obtain the best performance and ensure years of trouble-
free use, please read this instruction manual completely.

MODEL

DV-PF6E

VIDEO IN

AUDIO IN  R

PROGRAM

OUTPUT

DVD

DVD/VCR Combo DV-PF6E

DVD / DVD-R / CD / CD-R / CD-RW COMPATIBLE

VCR

REC TIMER

L (mono)

AV3

S

HOW

V

IEW

is a 

registered trademark of
Gemstar Development
Corporation.
The S

HOW

V

IEW

system is

manufactured under licence
from Gemstar
Development Corporation.

PAL

H9754ED(EN).qx4  04.5.31  3:24 PM  Page 1

Summary of Contents for DV-PF6E

Page 1: ...uble free use please read this instruction manual completely MODEL DV PF6E VIDEO IN AUDIO IN R PROGRAM OUTPUT DVD DVD VCR Combo DV PF6E DVD DVD R CD CD R CD RW COMPATIBLE VCR REC TIMER L mono AV3 SHOWVIEW is a registered trademark of Gemstar Development Corporation The SHOWVIEW system is manufactured under licence from Gemstar Development Corporation PAL ...

Page 2: ...nit Warning TO AVOID THE HAZARDS OF ELECTRICAL SHOCK AND FIRE 1 Do not handle the power cord with wet hands 2 Do not pull on the power cord when disconnecting it from AC wall outlet Grasp it by the plug 3 If by accident water is spilled on your DVD VCR unplug the power cord immediately and take the unit to our Authorized Service Center for servicing 4 Do not put your fingers or objects into the DV...

Page 3: ...ase from Dealer Address Dealer Phone No Model No Serial No Remote control DV RMPF6E TS18867 Two AA batteries 1 2 3 5 6 7 8 9 0 1 0 A U D IO SK IP P R O G SK IP P R O G S LO W CL EA R C RE SE T DA ILY W EE KL Y S HO W V IEW RE C OT R DI SP LA Y R ET U R N TO P M EN U M E N U S E T U P QU IC K FIN D ZO O M M O D E A BR EP EA T A N G LE SE AR CH MO DE R EP EA T SU BT ITL E TIM ER V C R D V D OP EN C ...

Page 4: ...h Recording 19 Timer Recording 19 Hints for Timer Recording 20 SHOWVIEW Guide Channel Set 20 Timer Recording using the SHOWVIEW System 21 VPS Video Programme System PDC Programme Delivery Control 21 Auto Return 21 Copying a video tape 22 Status Display 22 TV Colour System 22 Auto Rewind 22 Real Time Tape Counter 22 PLAYING A DISC 23 Basic Playback 23 General Features 23 Disc Navigation 23 Pause 23...

Page 5: ...Disc types 12 cm or 8cm Example Title 1 Title 2 Chapter 1 Chapter 2 Chapter 1 Chapter 2 Chapter 3 Chapter 4 Example Track 1 Track 2 Track 5 Track 6 Track 3 Track 4 Digital audio If you cannot play back a disc which bears one of the marks above check the following notes 1 This unit conforms to the PAL colour system Also you can play discs recorded with the NTSC colour systems via a PAL sys tem TV s...

Page 6: ... V SCART You can set SCART OUTPUT to RGB or S VIDEO for video output DVD MPEG sound This DVD VCR can handle a disc that supports MPEG audio and the DVD VCR is connected to a MPEG decoder Bit rate indication DRC Dynamic range control You can control the range of sound volume Mode Hardware specifications AUDIO OUTPUT L R jacks Auto Head Cleaner 4 Head HiFi Stereo On screen Display PLL Synthesiser Tu...

Page 7: ...his light appears when the VCR output mode is select ed You can only watch tapes when the green VCR OUTPUT light is on To make the green VCR OUTPUT light come on press VCR on the remote control or OUTPUT on the front panel 15 OUTPUT Press to select DVD mode or VCR mode You can switch the output mode either by pressing OUTPUT on the front panel or by pressing DVD or VCR on the remote control Howeve...

Page 8: ...tion Do not touch the inner pins of the jacks on the rear panel Electrostatic discharge may cause perma nent damage to the DVD VCR COAXIAL DIGITAL AUDIO OUT S VIDEO OUT DVD DVD VCR AV1 TV AV2 DECODER VCR ANALOG AUDIO OUT L R AERIAL RF OUT 5 1 2 3 4 6 7 8 REAR PANEL Display FUNCTIONAL OVERVIEW Lights up when the inserted disc is being played back Displays a type of the disc which is inserted on the...

Page 9: ...h which the remote control unit is used If the remote control unit does not operate from close to the main unit replace the batteries with new ones even if less then a year has passed The included batteries are only for verifying opera tion Replace them with new batteries as soon as possible When inserting the batteries be careful to do so in the proper direction following the and marks in the rem...

Page 10: ...R Menu Press to put the VCR into standby mode for a timer recording To select channel To set the SHOWVIEW number DAILY WEEKLY button Use when you record using SHOWVIEW system To select chapter or title directly DVD To select track directly CD To programme timer recording with the SHOWVIEW system The first scenes of each chapter of the title being played will be displayed DVD Allows you to search f...

Page 11: ... search track CD To search time DVD CD To rapidly return to a location of disc Search the markers DVD CD To view the tape in slow motion Press to eject the video cassette from the VCR To select STEREO L CH R CH or normal Begin tape playback To select the DVD output mode To use the remote control in DVD mode Accesses various audio functions on a disc DVD To select STEREO L CH or R CH CD Displays th...

Page 12: ...and picture quality A2 or NICAM stereo sound is only achieved when using a SCART lead Euro Scart cables are obtainable at your dealer AV1 TV CONNECTION TO TV If your TV has Scart sockets you may connect your DVD VCR s AV1 TV scart socket to the Scart socket on the back of your TV Please see the instruction manual for your TV AV2 DECODER CONNECTION FOR OTHER EXTERNAL DEVICES The second Scart socket...

Page 13: ...less connected to a Dolby Digital decoder or an MPEG decoder set DOLBY DIGITAL and MPEG to PCM for audio output in the setup mode Playing a DVD using incorrect settings may generate noise distortion and may also damage the speakers See page 28 The audio source on a disc in a Dolby Digital 5 1 channel surround format cannot be recorded as digital sound by an MD or DAT deck COAXIAL COAXIAL DIGITAL A...

Page 14: ...nector we recommend connecting it to the this product s S Video output con nector using a commercially available S Video connection cord If you use the Euro A V SCART jack it is not necessary to connect the analog audio cable Connect the DVD VCR directly to a TV If the A V cables are connected to a VCR pictures may be distorted due to the copy protection system When your TV conforms to RGB input s...

Page 15: ...ress K or L to select LANGUAGE then press B B Press K or L repeatedly to select your desired language Press MENU 5 4 3 2 1 VCR Changing the Language Skip this section when connected by SCART Video channel setting will be necessary if your DVD VCR is connected to the TV via the aerial cable Use the remote control for this procedure Insert a pre recorded tape into the DVD VCR The DVD VCR will turn o...

Page 16: ...o correct by pressing s Although seconds are not displayed they begin count ing from 00 when you exit by pressing MENU Use this feature to synchronise the clock with the correct time When unplugging the power cord or if there is a power failure for more than thirty seconds you may have to reset the clock Auto Clock Setting Follow the steps through to in Manual clock set ting Press K or L to select...

Page 17: ...hen press B Press K or L to select MANUAL then press B Press K or L to select POSITION then press B B When a weak signal is received in Manual Tuning mode you can change the background to solid blue or the static screen by pressing CLEAR C RESET Press the number buttons or K or L to select relevant position number then press B Press K or L to select SKIP then press B to select ON To memorise the c...

Page 18: ...u still remains press MENU to exit the menu Once you select the Picture Select mode it stays in effect even after you turn off the DVD VCR 4 3 18 EN PLAYBACK FUNCTION Normal Playback Insert a prerecorded tape The DVD VCR will turn on If the safety tab has been removed the VCR will start playback automatically If a cassette is in the DVD VCR STOP symbol appears in TV screen when turning on the DVD ...

Page 19: ...e with plastic tape TWO DIFFERENT TAPE SPEEDS Before recording select the tape speed SP mode Standard Play or LP mode Long Play The table below shows the maximum recording playback time using E 60 E 120 E 180 or E 240 tapes in each mode VCR Tab Insert a cassette tape with its erase prevention tab in place If necessary rewind or fast forward the tape to the point at which you want to begin recordin...

Page 20: ... VCR again as usual press TIMER to disable the flashing TIMER light then press VCR to select the VCR mode Select either VCR or DVD mode then continue with the other features as described in this manual When timer recordings are set the TIMER light will come on To use the DVD VCR as usual until the time for the recording press TIMER so that TIMER light dis appears Press VCR to choose the VCR mode S...

Page 21: ...tay in the memory until you cancel it see page 20 for details on how to cancel a programme VCR VPS Video Programme System PDC Programme Delivery Control When timer recording is finished the DVD VCR will automati cally rewind the tape to the beginning where it started recording If there are any remaining programmes including Daily Everyday Weekly AUTO RETURN will not operate VCR Auto Return Press t...

Page 22: ... results during dubbing use the DVD VCR s front panel controls whenever possible The remote control might affect the playing VCR s operation If video or colour fades in and out you may be copying a copy guarded video tape TO MONITOR THE RECORDING Turn on the TV and select the video channel on the TV SP 0 12 34 SP 17 40 P02 CLOCK and CHANNEL NUMBER mode COUNTER mode Press once Press once Press once...

Page 23: ...ther options will appear for selection Press Cursor buttons L K B s to select an item and ENTER to confirm selection 4 3 2 1 DVD Basic Playback Disc Menus DVD may contain menus to navigate the disc and access special features Press the appropriate number buttons or use Cursor buttons L K B s to highlight your selection in the DVD main menu and press ENTER to confirm NOTE Unless stated all operatio...

Page 24: ...a single number eg track 3 press 3 To play track 26 press 10 2 6 on the number buttons Using the SEARCH MODE Press SEARCH MODE The Track search display appears Within 30 seconds select a desired track number using the number buttons For single digits press 0 first if the total track of the disc is more than 10 tracks Playback will start at the selected track Using the SKIP H H G G During playback ...

Page 25: ... was set press CLEAR A B Repeat playback does not function during title chapter track or all repeat playback 3 2 1 CD DVD NOTES The repeat setting will be cleared by moving to another track Repeat playback does not function during A B repeat playback To activate the repeat function press REPEAT during play back The repeat mode changes as described below every time you press the button CD REPEAT TR...

Page 26: ...yback Press AUDIO repeatedly to select your desired language NOTES If your language is not shown after pressing AUDIO sev eral times the disc may not have that language However some discs allow you to change audio lan guage or subtitle language setting in the disc menu Operation varies depending on the disc so refer to the manual included in the disc If you choose a language that has a 3 letter la...

Page 27: ...4 3 2 1 CD DVD Marker Setup Screen Ratings Control Ratings Control provides limits for DVDs with extreme violence or adult themes A password you establish will override the limits This feature allows you to prevent discs with objectionable scenes from being played by your children DVD RATING LEVEL Rating Level allows you to set the rating level of your DVDs Playback will stop if the disc s ratings...

Page 28: ...Press s or B to select AUDIO then ENTER to confirm Press K or L to select an item then press ENTER DRC Dynamic Range Control To compress the range of sound volume DRC function is available only on the discs that are recorded in the Dolby Digital format The default setting is ON DOWN SAMPLING Set to ON when outputting in 48kHz Set to OFF when outputting the original sound When playing disc with cop...

Page 29: ...54 Tibetan 4861 Tigrinya 6655 Tonga 6661 Tsonga 6665 Turkish TUR 6664 Turkmen 6657 Twi 6669 U Z Ukrainian 6757 Urdu 6764 Uzbek 6772 Vietnamese 6855 Volapuk 6861 Welsh 4971 Wolof 6961 Xhosa 7054 Yiddish 5655 Yoruba 7161 Zulu 7267 Language Code Language Code Language Code Language Code If you choose a Language that has a 3 letter language code the code will be displayed every time you change the Aud...

Page 30: ...the selected audio language matches your receiver capabilities No DTS audio output This player does not support DTS audio this is not a mallfunction No sound and picture Check that the VIDEO AUDIO cable is connected to the correct device see Connecting to a TV Picture freezes momentarily Check the disc for fingerprints scratches and during playback clean with a soft cloth wiping from center to edg...

Page 31: ... sections and to TROU BLESHOOTING GUIDE in this Owner s Manual the laser optical pickup unit may be dirty Consult your dealer or an Authorized Service Center for inspection and cleaning of the laser optical pickup unit Auto head cleaning Automatically cleans video heads as you insert or remove a cassette so you can see a clear picture Playback picture may become blurred or interrupted while the TV...

Page 32: ...eave equipment switched on when it is unattended unless it is specifically stated that it is designed for unattended operation or has a standby mode Switch off using the switch on the equipment and make sure that your family know how to do this Special arrangements may need to be made for infirm or handicapped people DON T use equipment such as personal stereos or radios so that you are distracted...

Page 33: ...English 33 EN MEMO ...

Page 34: ... 34 EN MEMO ...

Page 35: ...English 35 EN MEMO ...

Page 36: ...achi eu com HITACHI EUROPE AB Box 77 S 164 94 Kista SWEDEN Tel 46 0 8 562 711 00 Fax 46 0 8 562 711 13 Email csgswe hitachi eu com HITACHI EUROPE S A S Lyon Office B P 45 69671 BRON CEDEX FRANCE Tel 33 04 72 14 29 70 Fax 33 04 72 14 29 99 Email france consommateur hitachi eu com HITACHI EUROPE LTD Norway AB STRANDVEIEN 18 1366 Lysaker NORWAY Tel 67 5190 30 Fax 67 5190 32 Email csgnor hitachi eu co...

Reviews: