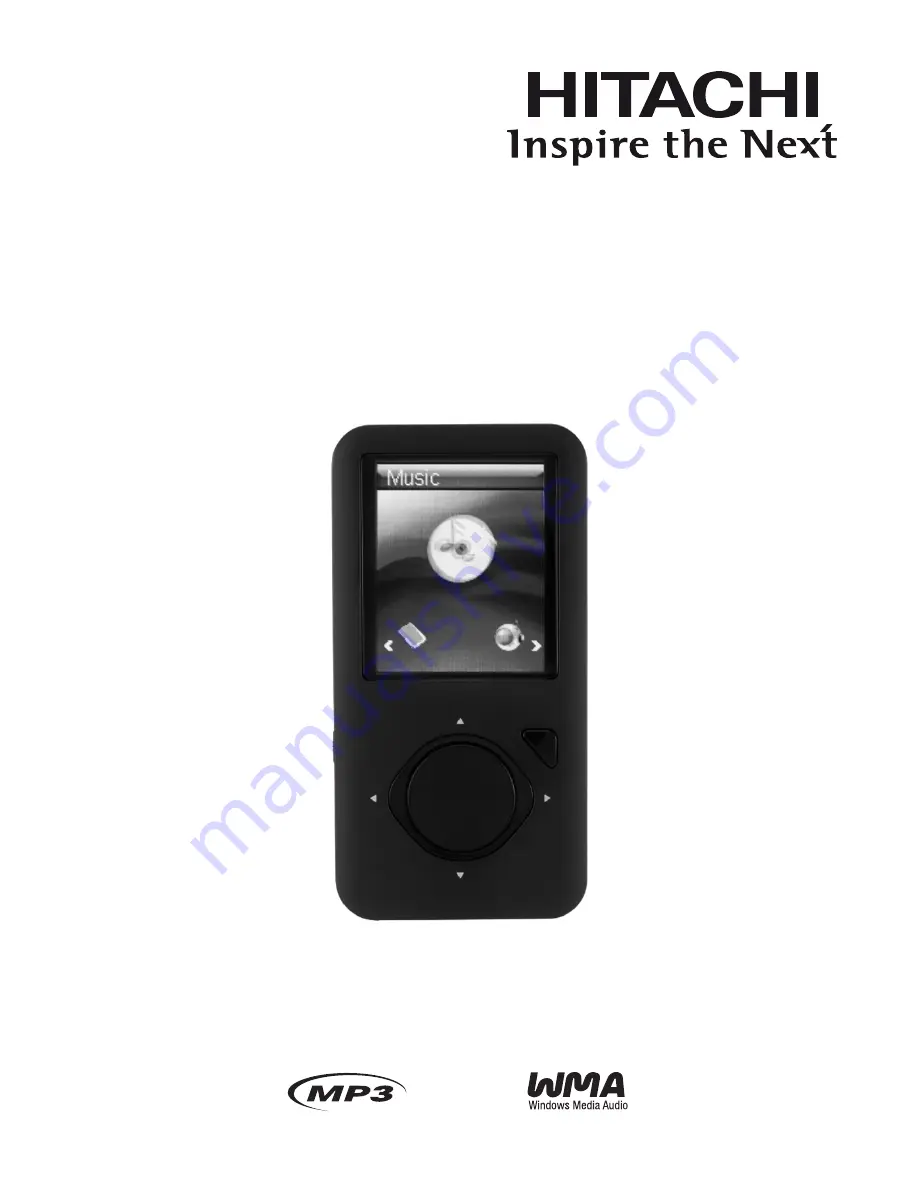
background image

Instruction Manual

DMP260
DMP460
DMP860

2GB/4GB/8GB Music and Video Multimedia Player 

Summary of Contents for DMP260

Page 1: ...Instruction Manual DMP260 DMP460 DMP860 2GB 4GB 8GB Music and Video Multimedia Player ...

Page 2: ...ience more enjoyable We recommend that you spend some time reading this instruction manual in order to fully understand these features You will also find some tips and help with troubleshooting common issues Read all the safety instructions carefully before using the MP3 Player and keep this instruction manual for future reference ...

Page 3: ...a Computer to the MP3 Player 7 Disconnecting the USB Cable 8 Charging the Battery 8 Battery Level Indication 8 Basic Operation 9 Turning On Off the MP3 Player 9 Resetting the MP3 Player 9 Key Hold Function 9 Entering the Main Menu 9 Music Playback 10 Playing Music 10 Display Lyrics 11 Entering the Music Setup Menu 11 To Set Repeat 11 To Set Equalizer 12 To Set 3D Sound Effect 13 To Set Play Rate 1...

Page 4: ...e 19 To Navigate Music Files 20 To Record Voce 20 Photo Playback 21 Entering the Photo Setup Menu 21 Movie Playback 22 Deleting Files and Folders 23 E Book Viewing 24 Customising Settings 25 Time 25 Power 26 Language 26 Display 26 Record 27 System Tools 27 Converting Video to MTV Format 28 Hints and Tips 29 Specifications 30 Safety Warnings 31 ...

Page 5: ...back of MP3 WMA WAV audio files r Supports multiple equalizer EQ and 3D sound effects r Supports multiple playback mode section repeat file repeat folder repeat and r random Supports the basic information of titles artists and albums of music files ID3 tag r Supports lyrics synchronisation displayed on screen while music is playing r Supports viewing of JPEG and BMP picture files r Supports conver...

Page 6: ...icture line 5 Previous track page screen Fast backward Navigate leftwards Return to previous screen 6 Start Pause playback Enter main menu Confirm selection in the main menu 7 Next track Fast forward search Navigate rightwards Confirm and enter next screen 8 Decrease volume Navigate downwards Next picture line 9 RESET Press the RESET hole button if a malfunction occurs 10 USB cable connection port...

Page 7: ... Disk Win98 Driver Version xxx exe file in the CD and follow the instructions in the pop up window to complete the installation Restart the computer 3 Make sure the MP3 player is disconnected from the computer when installing the driver Loading Files from a Computer to the MP3 Player Files can be transferred directly into the MP3 player using the USB data cable Connect the MP3 player to the comput...

Page 8: ...fely Charging the Battery Your MP3 player has a built in rechargeable Li polymer battery The battery is charged automatically whenever the MP3 player is connected to a computer If you charge the MP3 player while loading files to the MP3 player it may take a longer time Fully charge the MP3 player before you use it for the first time 8 hours or when you haven t used it r for a long period of time C...

Page 9: ...tton to re initialise the system of your MP3 player Key Hold Function The keys will be locked in Music and Voice mode after the set time if no button is pressed To deactivate the lock function press and hold the r button for 2 seconds and then release To lock all buttons of the MP3 player see r Hold Time on page 27 for details Entering the Main Menu Press and hold the button to open the main menu ...

Page 10: ... connected correctly Press the 3 button to play the music While playing music you can Pausing Resume Playing r Press the button to pause playing Press the button again to resume playing Skipping Tracks r Press the buttons to skip to previous next track Play mode indicator 1 Volume level 2 Playing file name ID3 tag Lyrics 3 Spectrum display 4 Bit rate 5 Sampling frequency 6 Elapsed time of the trac...

Page 11: ...ame the lyrics file Make sure that the lyrics filename is the same as the music 3 file name For example love music lrc Copy both files into the same folder on the MP3 player 4 Start playback of the music file The lyrics will be displayed on screen while the 5 music is being played Entering the Music Setup Menu While playing music press the 1 MENU button to enter the Music Setup Menu Press the 2 bu...

Page 12: ...y Folder Random r Play all the files in the current folder in random order To Set Equalizer The equalizer setting enables you to select an equalizer from the six preset equalizer settings to suit the type of audio output or customise your personal equalizer effect Press the 1 MENU button while listening to a track The Music Setup Menu appears on the screen Press the buttons to select Equalizer Pre...

Page 13: ...ect Press the 1 MENU button while listening to a track The Music Setup Menu appears on the screen Press the buttons to select 3D To customise EQ select Custom EQ and press the button The Custom EQ value bars appear on the screen Press the 1 buttons to navigate between the value bars When navigating to a value bar press the 2 button to select it The blue arrow becomes red Use the 3 buttons to adjus...

Page 14: ...ected file To Navigate Music Files Press the 1 MENU button while listening to a track The Music Setup Menu appears on the screen Press the buttons to select File Press the 2 button to enter the Play Rate Menu Press the buttons to select a play rate from 1 00X 1 14X 1 33X 0 67X and 0 80X Press the button to confirm and exit Music Play Rate 1 00X 1 14X 1 33X 0 67X 0 80X Music Repeat Equalizer 3D Pla...

Page 15: ...s to select Record Voice Recording and Playback You can make voice recordings using the integrated microphone Press and hold the 1 button to enter the main menu Press the buttons to select Voice Voice Repeat Equalizer 3D Play Rate File Record Volume level 1 Recording voice name 2 Bit rate 3 Sampling frequency 4 Elapsed time of the track 5 Remaining battery power indicator 6 File format 7 Current m...

Page 16: ... been already recorded is automatically saved Volume level 1 Recording voice name 2 Bit rate 3 Sampling frequency 4 Elapsed time of the track 5 Remaining battery power indicator 6 File format 7 Current EQ indicator 8 Current track Total track number 9 Current mode 10 Play Pause Stop Fast forward 11 Rewind Total time of the track 12 1 2 3 4 5 6 7 8 9 12 11 10 Press the 5 button to play the recordin...

Page 17: ...der repeatedly Folder Random r Play all the files in the current folder in random order Entering the Voice Setup Menu While playing the recording press the 1 MENU button to enter the Voice Setup Menu Press the 2 buttons and then the button to access the following Repeat Equalizer 3D Play Rate File Record After finishing the music setting press the 3 MENU button to exit the Music Setup Menu To Set ...

Page 18: ... Equalizer 3D Play Rate File Record Press the 2 button to enter the EQ Menu Press the buttons to select the desired equalizer from Normal Pop Rock Classic Jazz Bass and Custom EQ Press the button to confirm and exit To customise EQ select Custom EQ and press the button The Custom EQ value bars appear on the screen Press the 1 buttons to navigate between the value bars When navigating to a value ba...

Page 19: ...tening to a track The Voice Setup Menu appears on the screen Press the buttons to select Play Rate To Set 3D Sound Effect Press the 1 MENU button while listening to a track The Voice Setup Menu appears on the screen Press the buttons to select 3D Voice Repeat Equalizer 3D Play Rate File Record Voice 3D Off On Voice Repeat Equalizer 3D Play Rate File Record Voice Play Rate 1 00X 1 14X 1 33X 0 67X 0...

Page 20: ... select a folder or file and then press the button to open the folder or play the selected file Voice MIC0001 WAV MIC0002 WAV To Record Voice Please refer to Voice Recording on page 15 for details To Navigate Recorded Files Press the 1 MENU button while listening to a track The Voice Setup Menu appears on the screen Press the buttons to select File Voice Repeat Equalizer 3D Play Rate File Record ...

Page 21: ...u appears on the screen Press the 2 buttons to select the desired pictures viewing from Slide Show and Manual Scan Press the button to confirm and exit Slide Show r Once selected all the pictures on your MP3 player will play in a slide show Manual r To view pictures manually Press the buttons to display the previous or next picture Press the 3 MENU button to return to the previous menu or press an...

Page 22: ...ing Skipping Video Files r Press the buttons to skip to the previous next video file Searching r Press and hold the buttons to rewind fast forward within a video file Adjusting the Volume r Press the buttons to increase decrease the volume Exit r Press the MENU button to return to the previous menu or press and hold the button to return to the main menu Press the 2 button The movie list appears on...

Page 23: ... Yes and then press the button to confirm Select No and then press the button to cancel PHOTO MOVIE al jpg pride mtv Delete Press the 2 button The file list appears on the screen Press the buttons to navigate between the files or folders Deleting Files and Folders In the Delete mode you can delete the files and folders stored on your MP3 player without a computer Press and hold the 1 button to ent...

Page 24: ...s the button to automatically skip pages Press the button again to stop the automatic skipping Exit r Press the MENU button to return to the E book list or press and hold the button to return to the main menu The last page you read is saved as a bookmark automatically when you exit the E book mode The bookmark page will be displayed on the screen when you switch to E BOOK mode next time E Book Vie...

Page 25: ...sed by accessing the Settings Menu The Settings Menu consists of several items where various functions can be selected concerning language play mode recording contrast time off storage reset etc Press and hold the 1 button to enter the main menu Press the buttons to select Settings and then press the button Press the 2 buttons and then press the button to access the followings Settings Time Power ...

Page 26: ...he set time No The MP3 player will turn off automatically if no button is pressed for the set time Language Press the buttons and then the button to select a desired menu language English French German Italian Spanish Portuguese Dutch Russian Settings Power Auto off Always on Settings Languages English Français Deutsch Italiano Español Português Nederlands Ɋɭɫɫɤɨ Display To set the LCD off time Th...

Page 27: ...format the MP3 player you can select from either Quick or Complete After formatting all the data on the MP3 player will be erased Reset To restore all settings of the MP3 player to factory default settings About To check the free memory and firmware version of the MP3 player Delete All To delete all files in the MP3 player Hold Time To specify the key locked time The keys will be locked after the ...

Page 28: ... CD ROM drive of 1 your computer Double click the file 2 Video Converter exe in the folder MTVVideoConverter The Video Converter V2 9 window appears Click 3 Input Video and then select the input source from the Open dialog box Click Output Video to select an output If your video files e g MP4 file cannot be found in the Open dialog box select All Files in the File of type box GB 28 To make your vi...

Page 29: ...es cannot be downloaded Check if the driver is installed correctly in the computer r Check the connection between the MP3 player and the r computer No sound from the earphones Check that the volume is on r Check the connection between the earphones and the r MP3 player Check if the music file format is supported by the MP3 r player Recording cannot be done Check if there is enough memory and batte...

Page 30: ...Size 43 x 84 x 8 3 mm Weight 40g without accessories Frequency response 20Hz 20KHz Dynamic current 40mA Play Mp3 backlight off Power off current 0 30mA Storage condition Humidity 90 Normal temperature Working condition Humidity 85 10 40 C Power out 2 x 1mW 16 ohm load Battery 300mAh up to 8 hours playback for music and 3 hours for video EQ Normal Rock Pop Classic Jazz Custom EQ Support Video Forma...

Page 31: ...hich may cause electromagnetic r interference If you do it may adversely affect the working of the unit and cause a distorted picture or sound LCD screen The LCD screen is manufactured using high precision technology However some r tiny black points and or bright points red blue or green in colour may constantly appear on the LCD screen These points are generated in the manufacturing process and a...

Page 32: ...ent to be exposed to dripping or splashing or objects filled with liquids such as vases to be placed on the equipment DON T r place hot objects or naked flame sources such as lighted candles or nightlights on or close to equipment High temperatures can melt plastic and lead to fires DON T r use makeshift stands and NEVER fix legs with wood screws to ensure complete safety always fit the manufactur...

Page 33: ...with Instruction Manual 54 809 30000109 Important Notice for the battery disposal The batteries used with this product contain chemicals that are harmful to the environment To preserve our environment disposal of used batteries according to your local laws or regulations Do not dispose of batteries with the normal household waste For more information please contact the local authority or your reta...

Reviews: