


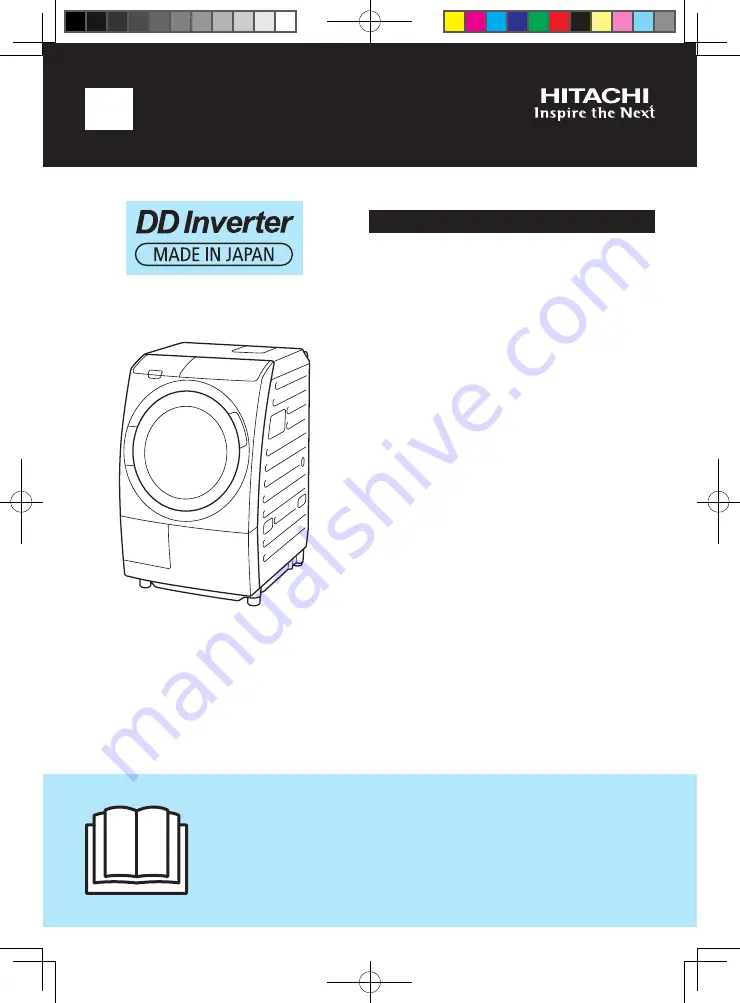
Operating & Installation Instructions
Front Loading Washer Dryer
Model BD-SG100CJ
EN
Thank you for purchasing a Hitachi front loading Washer Dryer.
■
Please read these operating & installation instructions carefully for proper
operation of the washer dryer.
■
Please keep these operating & installation instructions for future reference.
Contents
Safety Precautions
2
Before You Start Washing
7
Product Descriptions
10
Control Panel and Display
11
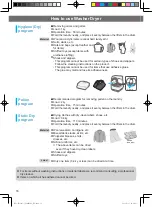
How to Use the Washer Dryer
12
Program Overview
18
Other Settings
20
Care and Maintenance
24
Troubleshooting 28
Speci
fi
cations
31
Safety Precautions for Installation
32
How to Install the Washer Dryer
34
Trial Operation Procedure
39
Installation Con
fi
rmation Sheet
40
BD-SG100CJ_OM&IM_EN.indd 1
BD-SG100CJ_OM&IM_EN.indd 1
2019/5/13 14:22:26
2019/5/13 14:22:26


