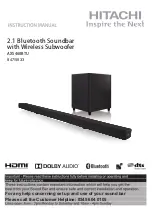
Hitachi AXS460BTU, Instruction Manual
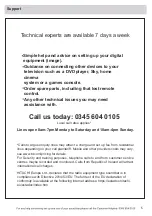
The Hitachi AXS460BTU is an exceptional audio system that delivers immersive sound quality. Unlock the full potential of this device by downloading its comprehensive Instruction Manual for free from our website. Discover step-by-step instructions and detailed information to enhance your audio experience and optimize its functionality.
Share
Download


Reviews:
No comments
Related manuals for AXS460BTU

AM2 - SCHEMATICS
Brand: Martin Audio Pages: 1

CM Series
Brand: Mach Pages: 16

MS 4
Brand: Dali Pages: 8

1800
Brand: IFINITY Pages: 18

L Series
Brand: JBL Pages: 2

L220
Brand: JBL Pages: 8

DVS Series
Brand: Tannoy Pages: 10

XT
Brand: Jam Audio Pages: 6

GO
Brand: Xblitz Pages: 40

E 500
Brand: JAMO Pages: 21

E 500
Brand: Hama Pages: 28

E 250
Brand: Hama Pages: 28

Powershot S70
Brand: Canon Pages: 12

508
Brand: Eclipse TD Pages: 10

802
Brand: B&W electronics Pages: 13

Speaker
Brand: LaCie Pages: 13

Speakers
Brand: OFT Pages: 9

Speaker
Brand: Cambridge SoundWorks Pages: 12


