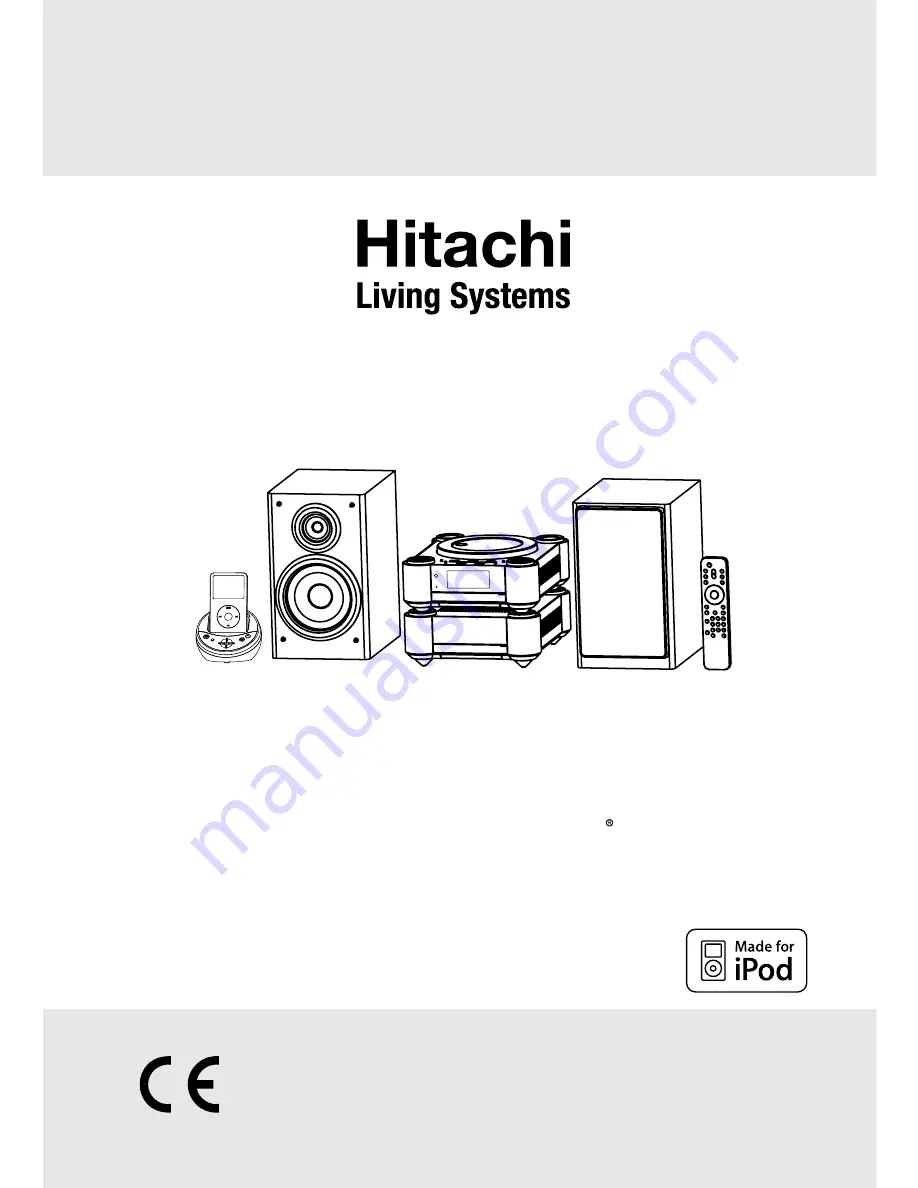
Hitachi AX-M84, Instruction Manual
The Hitachi AX-M84 Instruction Manual is available for free download on manualshive.com. This comprehensive manual provides step-by-step instructions to help you maximize the features of your Hitachi AX-M84 product. Easily access and download the manual today to enhance your experience with this exceptional device.
Share
Download
Reviews:
No comments
Related manuals for AX-M84

SC-AP01
Brand: Panasonic Pages: 2

APTMIC110AR
Brand: Akura Pages: 10
AMP300UCI
Brand: Akai Pages: 38
MC 9010 iP
Brand: Pro Audio Pages: 29
QX-D3100
Brand: Akai Pages: 20
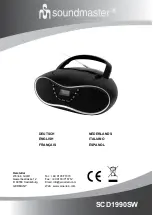
SCD1990SW
Brand: SOUNDMASTER Pages: 12
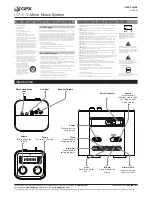
HM102B
Brand: GPX Pages: 2

EMMC35881
Brand: Emerson Pages: 14
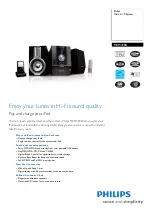
MCM398D Series
Brand: Philips Pages: 2
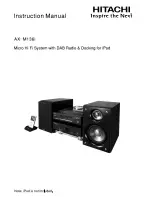
AX-M136i
Brand: Hitachi Pages: 25
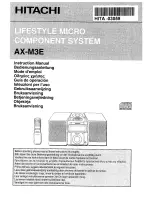
AX-M3E
Brand: Hitachi Pages: 44

AXM10E
Brand: Hitachi Pages: 120
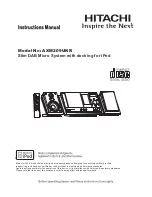
AXM209UK
Brand: Hitachi Pages: 16
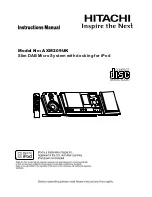
AXM209UKR
Brand: Hitachi Pages: 15
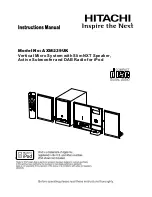
AXM239UK
Brand: Hitachi Pages: 15
AXM628E
Brand: Hitachi Pages: 33
AXM898U
Brand: Hitachi Pages: 18
AXM89MP3
Brand: Hitachi Pages: 16


