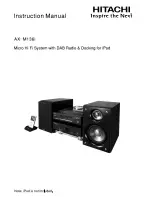
Hitachi AX-M136i, Instruction Manual
The Hitachi AX-M136i is a versatile music system with exceptional sound quality. Discover its full potential by obtaining the free Instruction Manual, available for instant download at manualshive.com. This comprehensive manual provides all the necessary guidance for a seamless user experience, ensuring you get the most out of your device.
Share
Download


Reviews:
No comments
Related manuals for AX-M136i

SC-AP01
Brand: Panasonic Pages: 2

APTMIC110AR
Brand: Akura Pages: 10
AMP300UCI
Brand: Akai Pages: 38
MC 9010 iP
Brand: Pro Audio Pages: 29
QX-D3100
Brand: Akai Pages: 20
SCD1990SW
Brand: SOUNDMASTER Pages: 12
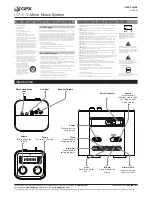
HM102B
Brand: GPX Pages: 2

EMMC35881
Brand: Emerson Pages: 14
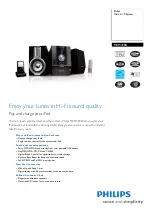
MCM398D Series
Brand: Philips Pages: 2
AX-M3E
Brand: Hitachi Pages: 44
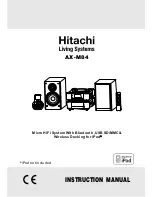
AX-M84
Brand: Hitachi Pages: 22

AXM10E
Brand: Hitachi Pages: 120
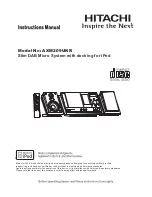
AXM209UK
Brand: Hitachi Pages: 16
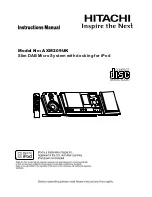
AXM209UKR
Brand: Hitachi Pages: 15
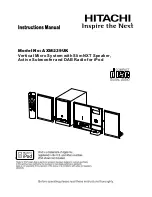
AXM239UK
Brand: Hitachi Pages: 15
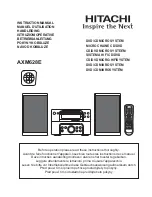
AXM628E
Brand: Hitachi Pages: 33
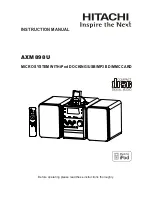
AXM898U
Brand: Hitachi Pages: 18
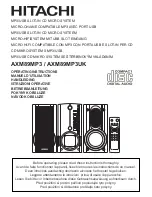
AXM89MP3
Brand: Hitachi Pages: 16


