


Record the serial number of your A/V Center for future reference.
SERIAL NO.
This serial number is located on the bottom side of the unit
ANY QUESTION ABOUT THIS PRODUCT PLEASE CONTACT 800-HITACHI
READ THE ENCLOSED INSTRUCTIONS CAREFULLY.
KEEP THIS OPERATING GUIDE FOR FUTURE REFERENCE.
Operating Guide
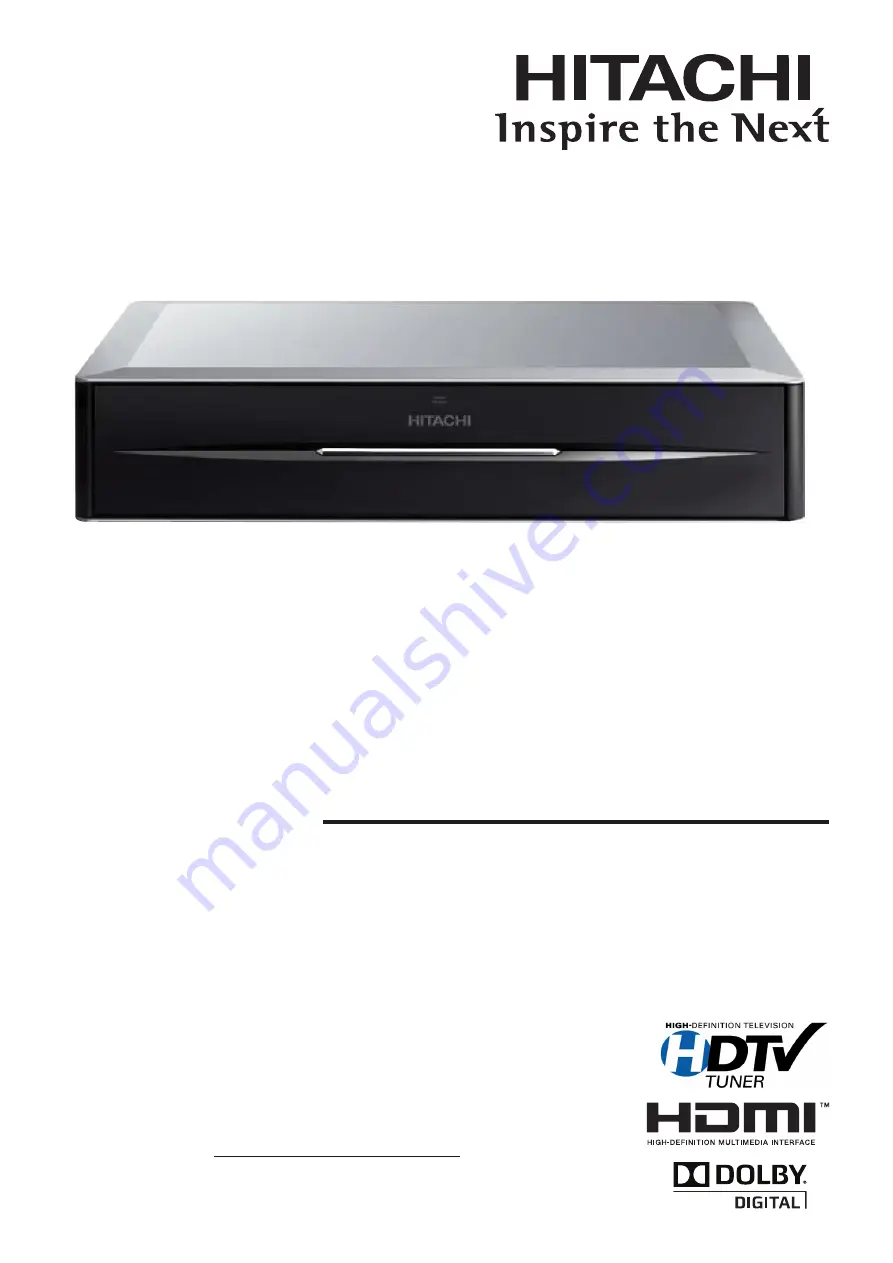
Model Name
AVC01U
Audio Video Center
This Audio Video Center is intended to be use with Hitachi Ultra Thin monitors that
includes remote controls. This AVC01U does not include a remote control.
- Audio Video Center with ATSC/NTSC/QAM tuning.
- Selectable Upscaling to 1080i/1080p High Definition Output (HDMI).
- (2) Composite Video Inputs, (2) Component Video Inputs.


