
Before operating the unit, please read this manual thoroughly.
OWNER S MANUAL
'
OWNER'S MANUAL
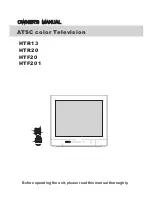
ATSC color Television
HTR13
HTR20
HTF20
HTF201
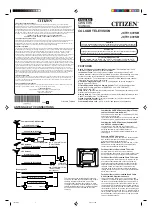
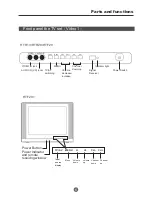
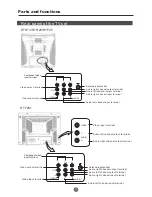
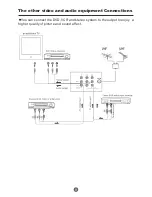
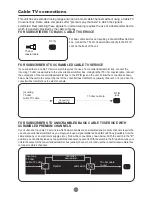
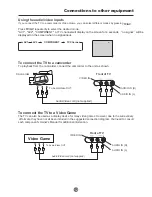
L-AUDIO-R
TV/AV
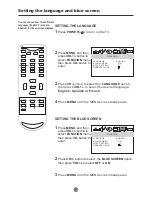
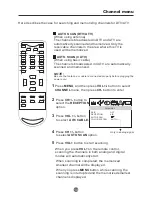
MENU
VOL-
VOL+
CH-
CH+
VIDEO
MUTE
Q.VIEW
INFO
INPUT
TV/DTV
SAP
P.MODE
OK
--
MENU
CH-
CH+
VOL
-
VOL
+
CC
SLEEP
S.MODE
GUIDE
FAV.LIST
AUDIOLIST
ARC
CH.LIST
EXIT
1
2
3
4
5
6
7
8
9
0
Summary of Contents for HTR20 - 20" CRT TV
Page 40: ......
Page 80: ...0090500143 Ver 1 0 ...