


Summary of Contents for HL26K
Page 42: ...R ...
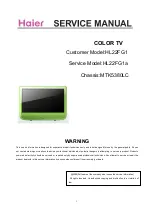
The Haier HL26K Service Manual is an essential tool for troubleshooting and maintaining your HL26K model. Conveniently available for free download at manualshive.com, this comprehensive manual provides step-by-step instructions and diagrams to ensure seamless user experience. Get the most out of your product with this invaluable resource.
Page 42: ...R ...