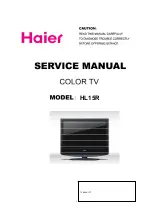


Summary of Contents for HL15R - 15" LCD TV
Page 2: ......
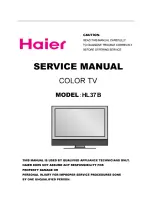
Page 3: ...IMPORTANT SAFETY INSTRUCTIONS ...
Page 4: ......
Page 5: ......
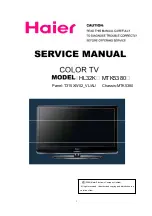
Page 6: ...HDMI ...
Page 9: ......
Page 10: ......
Page 11: ......
Page 12: ......
Page 13: ......
Page 17: ...Reset Reset all settings to factory mode ...
Page 18: ...Reset Reset all settings to factory mode ...
Page 24: ......
Page 26: ...V0 1 0090509049 ...