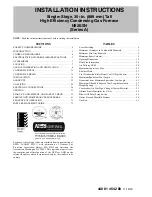
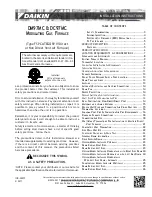
Installation, Operation and Maintenance
HIGH EFFICIENCY
TWO STAGE VARIABLE SPEED
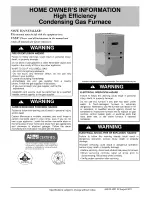
Please read the operating instructions and safety
precautions carefully and thoroughly before installing
and operating your furnace. Keep this manual in a
safe place for future reference.
USER’S INSTRUCTION GUIDE
INSTALLATION, OPERATION AND
MAINTENANCE MANUAL
Model
Serial Number
Date of Purchase
For future reference write down the model, serial
number, and date of purchase. Use these numbers in
any correspondence or service calls concerning your
furnace.
Keep these instructions for future reference.
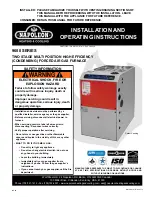
CATEGORY IV NATURAL GAS AND LP GAS
WARM AIR FURNACE
LOCATED AFTER PAGE 43 OF THIS
MODEL 77
HG
95
E054 HG
95
E072
<
HG
95
E0
90
<
HG
95
E108
Summary of Contents for HG95E054
Page 42: ......