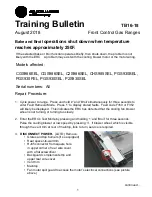
Training Bulletin
TB16-18
August 2018
Bake and Broil
operations shut down when temperature
reaches approximately 250F.
Front Control Gas Ranges
1
continued…
Models affected:
CGS986EEL, CGS986SEL, C2S986SEL, CHS985SEL, PGS930BEL,
PGS930FEL, PGS930SEL, P2S930SEL
Serial numbers: All
Repair Procedure:
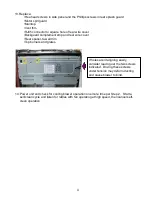
1.
Cycle power to range. Press and hold ‘2’ and ‘Broil’ simultaneously for three seconds to
enter Fault Retrieval Mode. Press ‘1’ to display stored faults. Fault code F350 or F352
will likely be displayed. This indicates the ERC has detected that the cooling fan blower
wheel is not turning, or turning too slowly.
2.
Enter the ERC’s Test Mode by pressing and holding ‘1’ and ‘Broil’ for three seconds.
Pulse the cooling blower at low speed by pressing ‘3’. If blower wheel, which is visible
through the vent trim at rear of maintop, fails to turn, service is required.
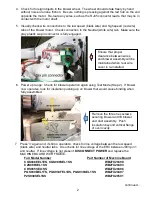
3.
DISCONNECT POWER.
(LOTO) Remove:
• Grates and top burners (if so equipped)
• Rear spacer-to-wall trim
• RJ45 connector from square hole
in upper corner of rear wire cover
with a flat screwdriver
• Backguard complement strip and
upper rear wire cover
• Vent trim
• Maintop
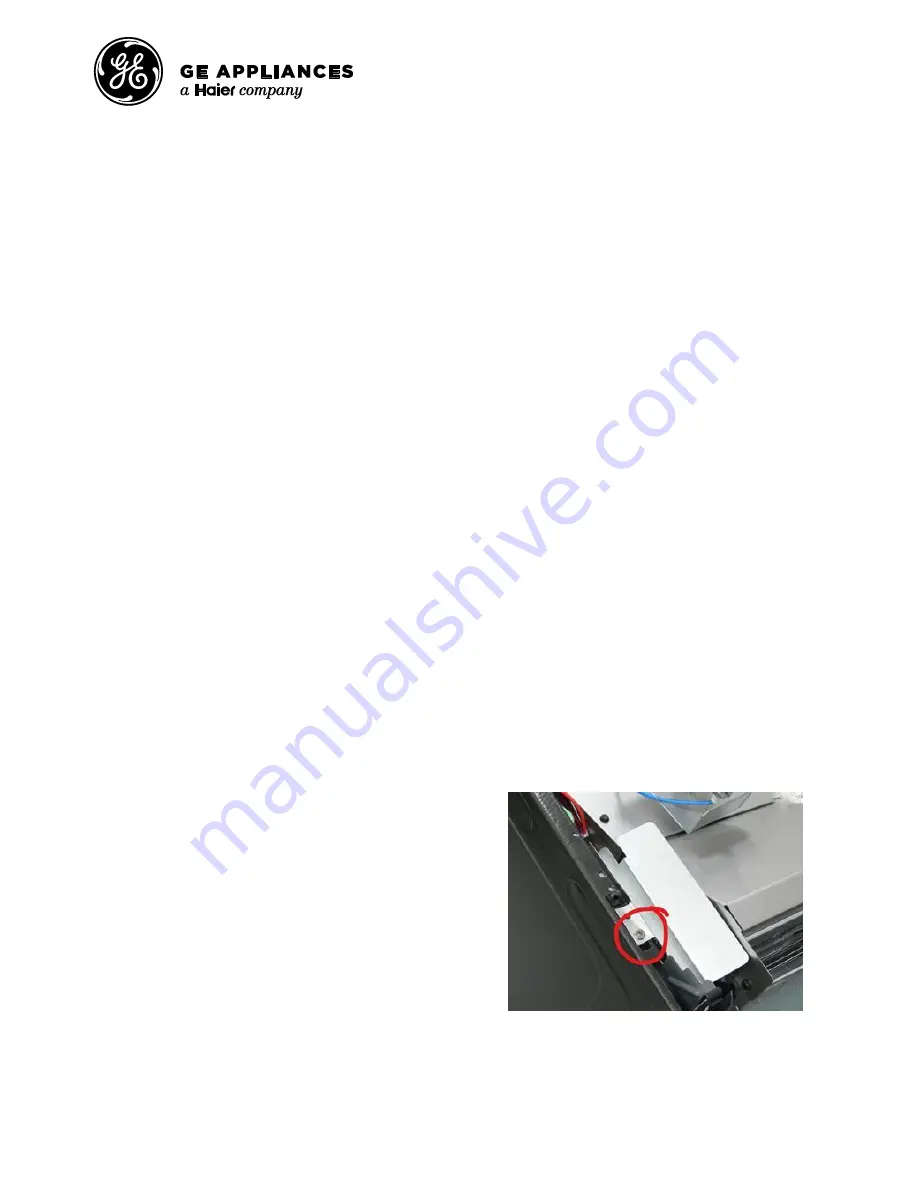
• Fan motor spill guard to access the motor’s electrical connections (see picture
above)
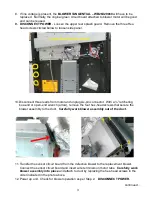
If the selected bake or broil function operates briefly, then shuts down, the problem is not
likely with the ERC. A problem may exist with the cooling blower motor or the motor wiring.


