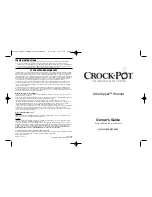


W
ar
ming Dr
awer
Electric
ge.com
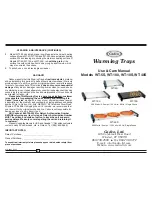
JKD915
JTD915
49-80383
12-05 JR
Safety Instructions
. . . . . . . . . . . 2, 3
Operating Instructions
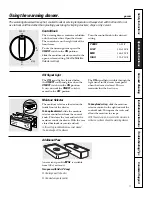
Control Knob . . . . . . . . . . . . . . . . . .5
Crisping Stale Items . . . . . . . . . . . . .7
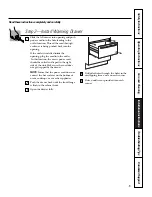
Drawer . . . . . . . . . . . . . . . . . . . . . . .6
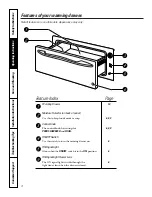
Features . . . . . . . . . . . . . . . . . . . . . .4
Moisture Selector . . . . . . . . . . . . . . .5
ON Signal Light . . . . . . . . . . . . . . . .5
Pans . . . . . . . . . . . . . . . . . . . . . . . . . 5
Proofing Yeast Bread
and Dough . . . . . . . . . . . . . . . . . . . .7
Rack . . . . . . . . . . . . . . . . . . . . . . . . .6
Temperature Selection Charts . . .7, 8
Warming Serving Bowl
and Plates . . . . . . . . . . . . . . . . . . . . .6
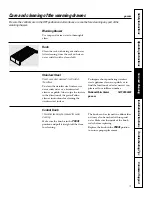
Care and Cleaning
. . . . . . . . . . . . 9
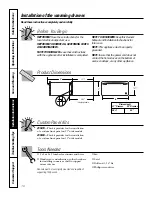
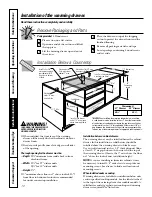
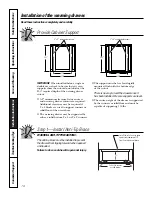
Installation Instructions
. . . . 10–15
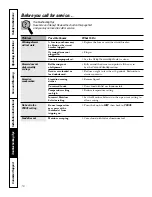
Troubleshooting Tips
. . . . . . . . . 16
Consumer Support
Consumer Support . . . . .Back Cover
Product Registration . . . . . . . . 19, 20
Warranty for Customers
in Canada . . . . . . . . . . . . . . . . . . . .23
Warranty for Customers
in the U.S.A. . . . . . . . . . . . . . . . . . .22
Write the model and serial
numbers here:
Model # ____________________
Serial # ____________________
You can find them on a label located
on the backside of the lower drawer
front.
In Canada, contact us at:
www.GEAppliances.ca
Owner’s Manual and
Installation Instructions