GE Interlogix FP1500, Manual For Installation, Configuration And Commissioning
The GE Interlogix FP1500 manual is your ultimate guide for installation, configuration, and commissioning of this exceptional product. This comprehensive manual provides step-by-step instructions, ensuring hassle-free setup. Download it for free from our website and unlock the full potential of your GE Interlogix FP1500.
Share
Download


Reviews:
No comments
Related manuals for Interlogix FP1500

EBL512 G3 5000
Brand: Panasonic Pages: 134
LW401
Brand: Faraday Pages: 35
BSR-1000
Brand: olympia electronics Pages: 71
WES3
Brand: Ramtech Pages: 64

Premier M plus
Brand: Zeta Pages: 16
Premier M plus
Brand: Zeta Pages: 22
INFINITY ID2
Brand: Zeta Alarm Systems Pages: 45
zp1-f Series
Brand: Ziton Pages: 2
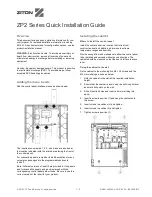
ZP2 Series
Brand: Ziton Pages: 2
NPAD 2
Brand: Zeta Pages: 33
SP-64
Brand: Zeta Pages: 23
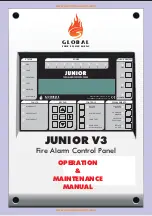
JUNIOR V3
Brand: Global Fire Equipment Pages: 21
UniNet 2000 AFP-300 NION
Brand: Notifier Pages: 32
SS24ADAS Series
Brand: System Sensor Pages: 4
FD 7120
Brand: UniPOS Pages: 2

LCD-80FC
Brand: Fire-Lite Pages: 32
MS-700ID SERIES
Brand: Mircom Pages: 2
80-210
Brand: Zeta Alarm Systems Pages: 3


