


Wine Center/Beverage
and Wine Center
245D1821P001 49-60734 01-15 GE
GEAppliances.com
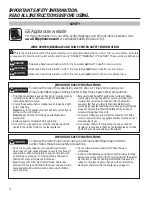
Safety Instructions
. . . . . . . . . . . .2, 3
Installation Instructions
. . . . . .4, 5
Operating Instructions
Control Settings . . . . . . . . . . . . . . . . . . . . . 6
Interior Space . . . . . . . . . . . . . . . . . . . . . . . 7
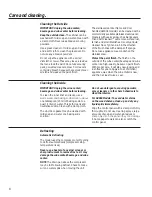
Care and Cleaning
. . . . . . . . . . 8, 9
Replacing the Light Bulb . . . . . . . . . . . . . 9
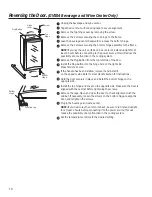
Reversing the Door (GVS04 only) . . . .10
Troubleshooting Tips
. . . . . . 11, 12
Consumer Support
Consumer Support . . . . . . . . . . . . . . . . .16
Warranty . . . . . . . . . . . . . . . . . . . . . . . . . .15
Write the model and serial
numbers here:
Model # ___________________
Serial # ___________________
Find these numbers inside the
beverage center/wine chiller
on the left side.
Owner’s Manual
and Installation
GWS04 Wine Center
GVS04 Beverage and
Wine Center
Summary of Contents for GVS04
Page 13: ...Notes GEAppliances com 13...
Page 14: ...Notes 14...
Page 29: ...Notas 13...
Page 30: ...Notas 14...