background image

En-1

English

F

rançais

Deutsch

Español

USER’S MANUAL

LCD PROJECTOR

LPF-4800/LPF-4800E

Important Information ..................................... En-3
Important Safeguards .................................... En-3
Features ......................................................... En-6
Checking the Accessories .............................. En-7
Points to Note ................................................. En-8
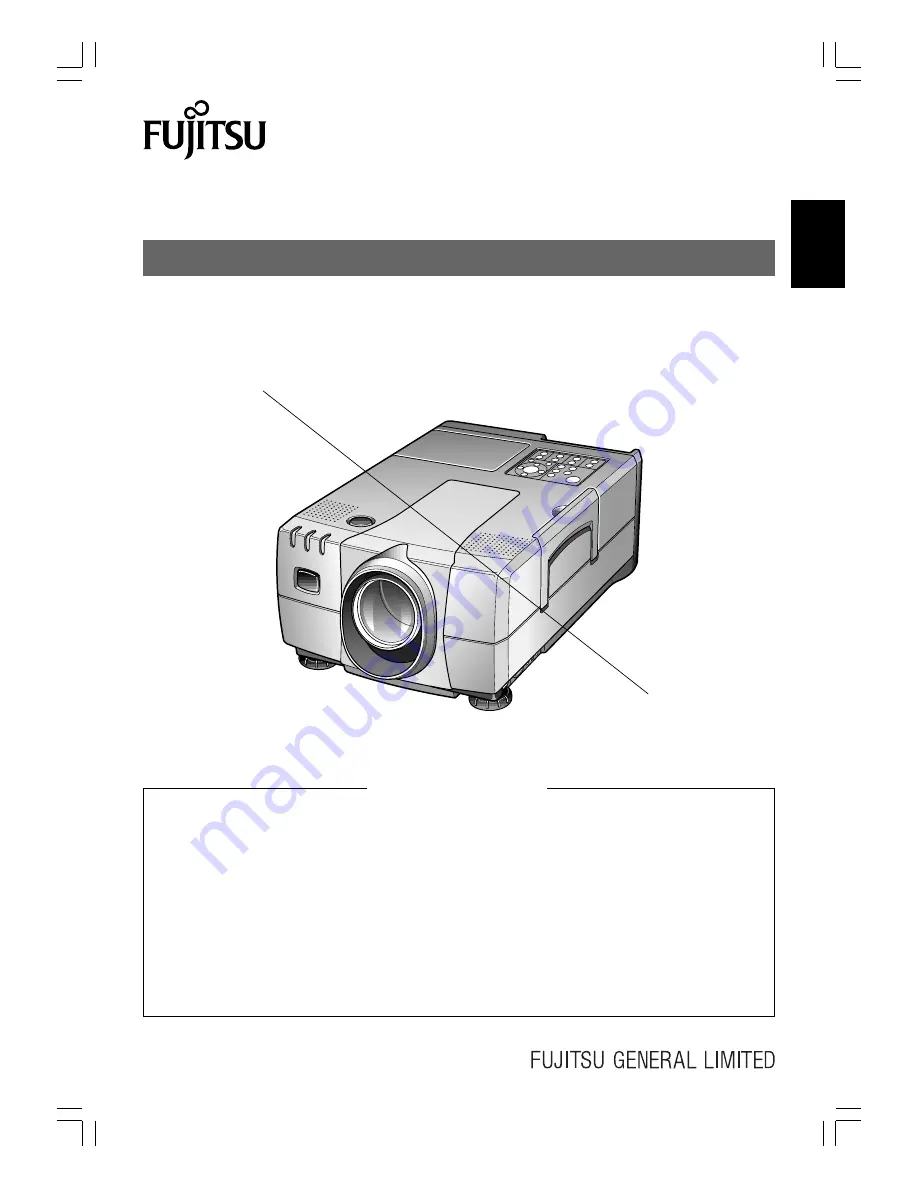
Names of Parts ............................................ En-11
Handling the Wireless Remote

Control Unit ............................................... En-13

Setting Up .................................................... En-14
External Connection

To a Personal Computer ........................... En-16
To a Video/Laser Disk/DVD ....................... En-17

Connecting the Power Source ...................... En-18
Basic Operation ............................................ En-18
Operating the Menu Screens ....................... En-22
Adjusting the IMAGE .................................... En-24
Adjusting the POSITION .............................. En-26
Setting the DISPLAY .................................... En-27
Setting the INSTALLATION .......................... En-28
Maintenance and Care ................................. En-29
Changing the Lamp ...................................... En-30
Troubleshooting ............................................ En-32
Specifications ............................................... En-33

CONTENTS

Summary of Contents for LPF-4800

Page 1: ... Wireless Remote Control Unit En 13 Setting Up En 14 External Connection To a Personal Computer En 16 To a Video Laser Disk DVD En 17 Connecting the Power Source En 18 Basic Operation En 18 Operating the Menu Screens En 22 Adjusting the IMAGE En 24 Adjusting the POSITION En 26 Setting the DISPLAY En 27 Setting the INSTALLATION En 28 Maintenance and Care En 29 Changing the Lamp En 30 Troubleshootin...

Page 2: ...cil Directive 73 23 EEC of 19 February 1973 Place of Issue U K Date of Issue December 2000 Signature H Hirosaki Chief Executive FUJITSU GENERAL U K CO LIMITED Declaration Reference FUJITSU GENERAL U K CO LIMITED Ground Floor Elstree House Elstree Way Borehamwood Herts WD6 1LS Tel 44 181 421 7000 44 181 421 7029 This equipment has been tested and found to comply with the limits for a Class A digita...

Page 3: ...ious injury to a child or adult and serious damage to the product When the product is used on a cart care should be taken to avoid quick stops excessive force and uneven surfaces which may cause the product and cart to overturn damaging equipment or causing possible injury to the operator When connecting other products such as VCR s and personal computers you should turn off the power of this prod...

Page 4: ...hock Do not place vases cups or other object containing water or fluids on top of the projector Do not use the projector in rain wind or other inclement weather Fire or electrical shock may occur if rain or other objects enter the unit Do not insert metallic objects or flammable objects such as plastic or paper into the lamp unit or lamp storage unit Contact your sales office if a foreign object e...

Page 5: ...or electrical shock Never touch the electrical plug with wet hands This may cause electrical shock Do not touch the lamp storage cover interlock mechanism Fire electrical shock or other damage may occur if the interlock mechanism does not operate correctly This product should be operated only with the type of power source indicated on the label If you are not sure of the type of power supply to yo...

Page 6: ...ze and light weight approx 3 6 kg The projector is easy to carry and set up Handy pocket sized card type remote control unit 5 mm thick card type remote control unit can easily be carried in your pocket Simple correction of image trapezoid distortion Distortion of the trapezoid caused by the angle of incidence with the screen can be corrected easily using the keystone correction function Clear eas...

Page 7: ... Wireless remote control unit 1 CR 2025 lithium battery 1 User s manual 1 this manual Power cable 1 RGB cable 1 Parts No 8110430014 AV cable 1 Parts No 8302280021 Lens cap to protect the lens 1 POWER AUTO MUTE MODE STATUS CANCEL MENU ENTER KEYSTONE VOLUME ZOOM PAN ...

Page 8: ... etc or when setting is required select Super VGA 800 600 Super VGA 1024 768 Super VGA 1280 1024 or Standard VGA 640 480 on a standard monitor Power sequence Precautions when turning on power If the projector is connected to a PC turn the projector on before turning the PC on This is particularly important if using a Macintosh computer Precautions when turning off power If the projector is connect...

Page 9: ...h Lamp fails to light Fan failure End of service life of lamp Unplug power cable from socket to cancel display Wait until internal parts have cooled then start up again If condition persists take to store where purchased for repairs If ventilation opening is blocked remove blockage and allow projector to cool Check air filter and if it is blocked with dirt clean or replace See page En 29 If condit...

Page 10: ...light receivers out of direct sunlight To disable the wireless remote control unit light receivers Change the remote control input setting using the function settings For details see page En 28 Image characteristics The projector is equipped with a liquid crystal panel The colors and contrast of the projected image may differ from the CRT image on a TV or PC Screen If you are choosing a screen fir...

Page 11: ...ster button 15 Adjuster 15 Wireless remote control unit light receiver 10 13 AUDIO RGB COMPONENT AUDIO S VIDEO VIDEO L R IN PUT1 IN PUT1 Built in security slot This security slot supports the MicroSaver Security System of Kensington Micorware Inc AC 100 240 V input terminal 18 30 INPUT 1 terminal S VIDEO terminal VIDEO terminal AUDIO L R terminals 17 INPUT 2 terminal RGB COMPONENT terminal AUDIO t...

Page 12: ...ointer buttons 19 20 22 28 POWER button 8 9 18 30 MODE button 18 19 AUTO button 19 21 POWER button 8 9 18 30 MENU button 22 ZOOM PAN buttons 20 CANCEL button 20 MUTE button 20 MODE button 18 19 KEYSTONE buttons 21 STATUS button 21 AUTO button 19 21 VOLUME buttons 20 ENTER button 19 22 26 Wireless remote control unit infrared light emitting window 13 Lamp monitor LAMP 8 9 Temperature monitor TEMP 8...

Page 13: ...um battery When disposing of used batteries please comply with governmental regulations or environmental public institution s rules that apply in your country area Note If the wireless remote control unit is placed face down the buttons will be pressed and the projector will be put in operation status resulting in exhaustion of the battery Be sure to store the remote control unit face up Caution T...

Page 14: ...rojection lens to the bottom edge of the screen Screen Size inch is the diagonal length of the screen 23 inch screen size is available only for wide screen and the projection distance is 1 1 m 60 91 122 2 4 3 0 2 7 80 122 163 3 2 4 1 3 63 100 152 203 4 0 5 1 4 55 150 229 305 6 0 7 7 6 86 200 305 406 8 0 10 3 9 16 249 380 506 10 0 XXX Screen Size Screen Size inch Height cm Width cm Projection dista...

Page 15: ...juster buttons and slowly lower the projector It can then be stored easily Warning Place at least 30 cm 12 inches away from the wall Do not set up where ventilation is poor as this may lead to fire Do not place on a carpet or blanket as this may lead to fire Do not block the ventilation holes on the front right side and left side of the projector as this may lead to fire Adjuster Adjuster button L...

Page 16: ...result When connecting the projector to a Macintosh notebook computer in addition to the optional MAC connector a special adapter commercially available may be necessary Projector Side To AUDIO terminal sound can be produced To sound output terminal To RGB COMPONENT terminal this connection enables PC images to be projected To RGB output terminal Stereo audio cable RGB cable supplied Macintosh MAC...

Page 17: ...uipment with S image output terminal To VIDEO AUDIO L R terminals this connection enables image and sound output To S image output terminal To video audio output terminals To AUDIO terminal used to connect equipment with component output terminal To audio output terminal on equipment with component output terminal To RGB COMPONENT terminal used to connect equipment with component output terminal T...

Page 18: ...se the image display may be adversely affected POWER BUTTON WAS PUSHED Push POWER button or Move the cursor to Power Off and push ENTER button to turn projector off Power Off Cancel When the button on the unit is pressed Basic Operation Connecting the Power Source 1 Turning Off Press the POWER button The confirmation screen is displayed When the button on the remote control unit is pressed 2 Plug ...

Page 19: ...wer is turned off the following operations are performed 1 The POWER ON monitor changes from green to orange Lamp is cooling 2 The cooling fan rotates for 2 minutes The buttons on the projector operation panel and the remote control unit cannot be operated for 1 minute after cooling of the lamp starts Opera tion can berestarted after 1 minute 3 When cooling is finished the fan stops the POWER ON m...

Page 20: ...n below when the MUTE button is pressed Sound muted MUTE appears on screen Sound and image muted Normal status Pointer buttons ZOOM PAN buttons CANCEL button MUTE button VOLUME buttons 50 Volume Partially Enlarging the Picture This function is performed only by the wireless remote control unit Press the ZOOM PAN buttons Press to enlarge the image Press to return the enlarged image to its original ...

Page 21: ...RGB 50 0 0 Status of This Projector MODE XGA_60 H SYNC 48 3kHz V SYNC 60Hz Lamp Timer Zoom Pan MUTE V MUTE Volume Brightness Contrast Source Input 1 2 3 4 5 6 7 8 Automatically Adjusting the Position Press the AUTO button The horizontal position vertical position picture width and picture blurring are automatically adjusted Adjusting Distortion of the ImageTrapezoid This function is performed only...

Page 22: ...en button on the left of the selected item lights up Example Select Brightness Operation bar 1 0 0 IMAGE Luminance Mode Brightness Contrast Factory Default Next Page ENTER Next Normal Low Select 2 3 4 0 0 IMAGE Luminance Mode Brightness Contrast Factory Default Next Page Normal Low Select Set up Press the MENU button The Menu screen is displayed Example When RGB is selected for the input source No...

Page 23: ...ustment buttons 5 2 When selecting the item you wish to adjust OK Cancel Onl Off etc Select with the adjustment buttons Example Select On Off in Resizing on the DISPLAY menu 0 0 IMAGE Luminance Mode Brightness Contrast Factory Default Next Page Select ENTER Next Normal Low 0 Contrast MENU Return Adjust 5 6 Press the MENU button to re turn to the previous screen Each time the MENU button is pressed...

Page 24: ... button for a blueish tinge and the button for a reddish tinge Factory Default You can return the image adjustment values to their standard status factory default settings Select by pressing the and adjustment buttons and decide by pressing the ENTER button Next Page Press the ENTER button or button to proceed to the second page of the IMAGE Menu Before Page Press the ENTER button or button or MEN...

Page 25: ...ker Gain Green You can adjust the strength of the green color Press the adjustment button to make it stronger and the button to make it weaker Gain Blue You can adjust the strength of the blue color Press the adjustment button to make it stronger and the button to make it weaker 0 Gain Blue MENU Return Adjust 0 Gain Red MENU Return Adjust 0 Gain Green MENU Return Adjust ...

Page 26: ...appears when you display the Quit Windows screen from the Windows 95 98 2000 Start Menu or the checkered pattern is the optimum adjustment value When automatically adjusting the position The horizontal position vertical position picture width and picture blurring are adjusted automatically This adjustment will be executed when the following operations are performed 1 when the power is turned on an...

Page 27: ...The factory default setting is On Overscan VIDEO only When there is interference at the top of the video screen etc you can adjust the picture so that that part is not visible Select by pressing the and adjustment buttons The factory default setting is Standard Component Selection When you connect the component to the RGB COMPONENT terminal select On by pressing the and adjustment buttons and the ...

Page 28: ...following 1 Rear Front The remote control signal can be received from the front and rear 2 Rear The remote control signal can be received from the rear only 3 Front The remote control signal can be received from the front only Select by pressing the and adjustment buttons The factory default setting is Rear Front Reverse Mode You can set vertical or horizontal inversion of the image from the setti...

Page 29: ...and Care 1 2 Unplug the power cable from the socket Clean the ventilation holes Use a vacuum cleaner with a soft brush attached Note Do not use a vacuum cleaner with a hard attachment or without an attachment as this may damage the projector Care of the cabinet Wipe lightly with a soft dry cloth If the cabinet is very dirty wipe with a cloth that has been soaked in neutral detergent diluted with w...

Page 30: ...d mark The high voltage and high temperature inside the projector may lead to electric shock or burns if touched When changing the lamp unit be sure to replace with a new lamp unit Use of a used or second hand lamp unit may lead to breakage or failure of the lamp Changing the Lamp Allow the lamp to cool for more than 1 hour after switching off the power before changing Remove the 1 screw mark and ...

Page 31: ...he power connector into the power terminal While pressing the MODE but ton press the POWER button three times All the monitors flash for a few seconds The lamp timer is initialized to 0 hours Loosen the two screws mark and lift out the lamp unit The screws are not taken off from the lamp unit Change the lamp unit Do not touch the glass inside the unit Dirt or fingermarks on the glass may reduce th...

Page 32: ...obstructed Front and rear Battery in wireless remote control unit has reached end of En 13 service life Wireless remote control unit light receiver is subject to strong light En 10 The images cannot be Check the PC recommended timing synchronized PC display mode is on simultaneous display mode En 32 No image or sound when Incorrect setting of input selector En 27 connected to the INPUT Check wheth...

Page 33: ...requency 50 60 Hz Power consumption 2 8 1 2A 270W Approx 11 W on standby Working temperature range 5 C 35 C Storage temperature 15 C 60 C Input terminals Video RCA pin 1 S image S terminal 1 Analog RGB Component 15 pin D sub terminal 1 Sound RCA pin R L 1 3 5ø mini stereo jack 3 Speaker 1 W monaural Outside dimensions H 8 9 W 23 5 D 27 5 cm 3 4 8 9 2 8 10 7 8 inches Weight Approx 3 6 kg 7 9 lbs Ac...

Page 34: ...15 mini D sub Pin No Signal Pin No Signal Pin No Signal 1 Red 7 Green Ground Horizontal synchro 2 Green 8 Blue Ground 13 nized signal 3 Blue 9 N C component TTL 4 N C 10 N C 14 Vertical synchronized 5 Ground 11 Ground signal TTL 6 Red Ground 12 N C 15 N C ...

Page 35: ...70 68 7 75 1 No image may appear even if the resolution and frequency mentioned above are the same PC display mode When an image signal is input from a PC the projector automatically selects the mode resolution and frequency and projectsthe picture according to that mode The projector fundamentally conforms to VESA Video Electronics Standards Association standards but depend ing on the typeof PC a...

Page 36: ......

Reviews: