


Important
Safety Information . .
2–8
Grounding
Instructions . . . . . . . .
9
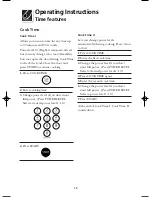
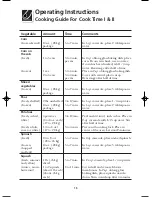
Operating
Instructions . . . . .
12–31
Features . . . . . .
10, 32–34
Care and
Cleaning . . . . . . . .
35–39
Troubleshooting . .
40–41
Consumer
Services
Warranty & Service
. .
42–44
CGLMV168
CPLMV168
GLMV168
PLMV168
Getting Started . . . . .
11
READ AND SAVE THESE INSTRUCTIONS
P/N 316137207 Rev. A
04-01 JR
Over-the-Range
Microwave Oven
49-401431v03 4/26/01 2:44 PM Page 1


