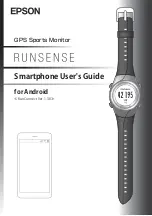
Epson Runsense, User Manual
The Epson Runsense is a revolutionary fitness watch that helps you track your progress and achieve your fitness goals. With advanced features like GPS tracking and heart rate monitoring, this user-friendly device is accompanied by a comprehensive User Manual. For a hassle-free and free download, get your manual from manualshive.com.
Share
Download


Reviews:
No comments
Related manuals for Runsense

Sportiiiis
Brand: 4iiii Pages: 19

UP
Brand: Jawbone Pages: 3

Forerunner 225
Brand: Garmin Pages: 14

vivofit 3
Brand: Garmin Pages: 14

TRAINING MONITOR
Brand: OARTEC Pages: 7

PRO4700
Brand: Octane Fitness Pages: 8

ROX
Brand: A-Champs Pages: 19

G6496FB
Brand: BH FITNESS Pages: 68
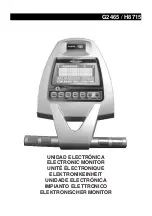
G2465
Brand: BH FITNESS Pages: 45
Edge 520
Brand: Garmin Pages: 26

NU-G0018
Brand: NuTech Pages: 18

Run Profiler
Brand: Digitsole Pages: 9

Pulse HR
Brand: Withings Pages: 16
PHRM36
Brand: Pyle Pages: 1
FMPW11.0
Brand: Freemotion Pages: 30
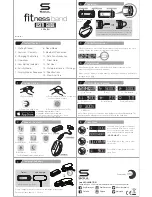
FITness band
Brand: Soul Pages: 2

foot pod
Brand: Suunto Pages: 8

Premium S5x
Brand: Matrix Pages: 12


