Epson Moverio BT-35E, User Manual
The Epson Moverio BT-35E is an exceptional augmented reality (AR) device that provides a captivating visual experience. Enhance your AR encounters with its crystal-clear display and easy-to-use controls. To make the most of your device, download the free user manual from our website, manualshive.com, and get started on your AR journey.
Share
Download


Reviews:
No comments
Related manuals for Moverio BT-35E

GLOW
Brand: MAD Gaze Pages: 14

VADER
Brand: MAD Gaze Pages: 92
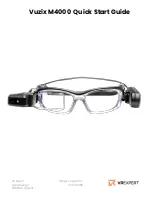
Vuzix M4000
Brand: VR Expert Pages: 5

Acesight
Brand: Zoomax Pages: 6
Talens Holo Industry
Brand: YOUBIQUO Pages: 23
Moverio BT-40
Brand: Epson Pages: 4
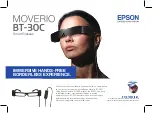
Moverio BT-30C
Brand: Epson Pages: 8
New glass C100
Brand: Lenovo Pages: 32
ThinkReality A6
Brand: Lenovo Pages: 18
CTRL MS1
Brand: E-TINT Pages: 2
WUZ-01B-NB01
Brand: Westunitis Pages: 24

PRO 3
Brand: NuEyes Pages: 16
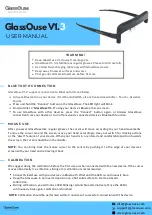
V1.3
Brand: GlassOuse Pages: 3

NXTWEAR G
Brand: TCL Pages: 72

Radar Pace
Brand: Oakley Pages: 15
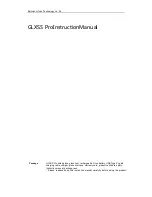
GLXSS Pro
Brand: Beijing LLVision Technology Pages: 15
SM1006
Brand: CamRom Pages: 8
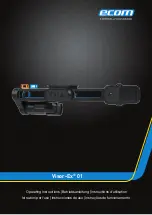
ecom Visor-Ex 01
Brand: Pepperl+Fuchs Pages: 21


