
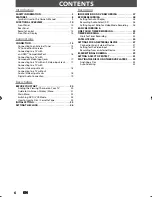


Recording
Playback
Editing
Introduction
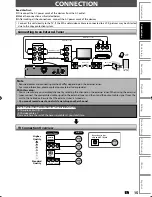
Connections
Basic Setup
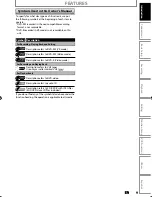
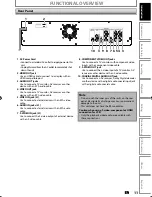
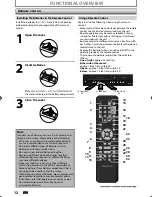
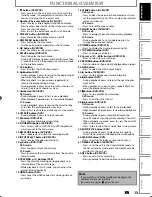
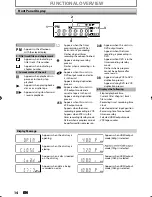
Function Setup
VCR Functions
Others
Español
ZV427EM5
EN
Owner’s Manual
ES
Manual del Propietario
EN
Need help?
eed
Please Call Toll Free or visit our Web Site below:
Please
ES
¿Necesita ayuda?
¿Neces
Llame por favor sin costo ó visite nuestro Sitio Web en:
Llame
1 866 309 8819
www.emersonaudiovideo.com
w
EN:
To obtain a more detailed electronic copy of this manual, go to www.emersonaudiovideo.com
ES:
Para obtener una copia electrónica más detallada de este manual, visite, www.emersonaudiovideo.com
EMERSON AND THE G-CLEF LOGO ARE REGISTERED TRADEMARKS
OF EMERSON RADIO CORP., MOONACHIE, NEW JERSEY, U.S.A.


