background image

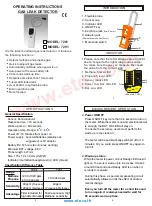
Document Part # 026-4419 Rev 0

Page 1 of 6

©2020 Emerson Retail Solutions, Inc. This document may be photocopied for personal use. 
Visit our website at http://www.emerson.com for the latest technical documentation and updates.

Note: Installing the MRLDS-450 requires version E2E 4.10F01 or 

later. You must add a description file for version E2 3.10F01 or less.

New Installation: Uploading the MRLDS-450 

Description File to E2

The MRLDS-450 requires adding a description file 

(P/N 527-0754) and license key to E2 version 3.0X or later. 

Contact Customer Service to obtain this information:
Email: 

[email protected]

Phone: 770-425-2724 Option 4

Note: UltraSite32 software should be installed to perform a 

description file upload.

Connect to E2 using UltraSite32

1. Launch UltraSite program and login.
2. View the 

Directory Level

 and then 

Site Level

.

3. Right-click 

Site Level

 and click 

Connect

.

4. Locate the E2 where the 

MRLDS_450.dsc

 will be installed.

5. Right-click the unit and select 

Upload Description File

.

6. Click 

Browse

 to select the appropriate description file (5270754.dsc) file for MRLDS-450 from the 

computer and click 

Open

.

7. Click 

Upload

. A window will display the description file was successfully imported. Click 

OK

. The 

description file should appear inside the window.

8.

Once completed, disconnect from the E2 and reboot the E2 controller

.

Note: Do not omit the step of rebooting the controller.
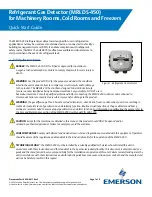
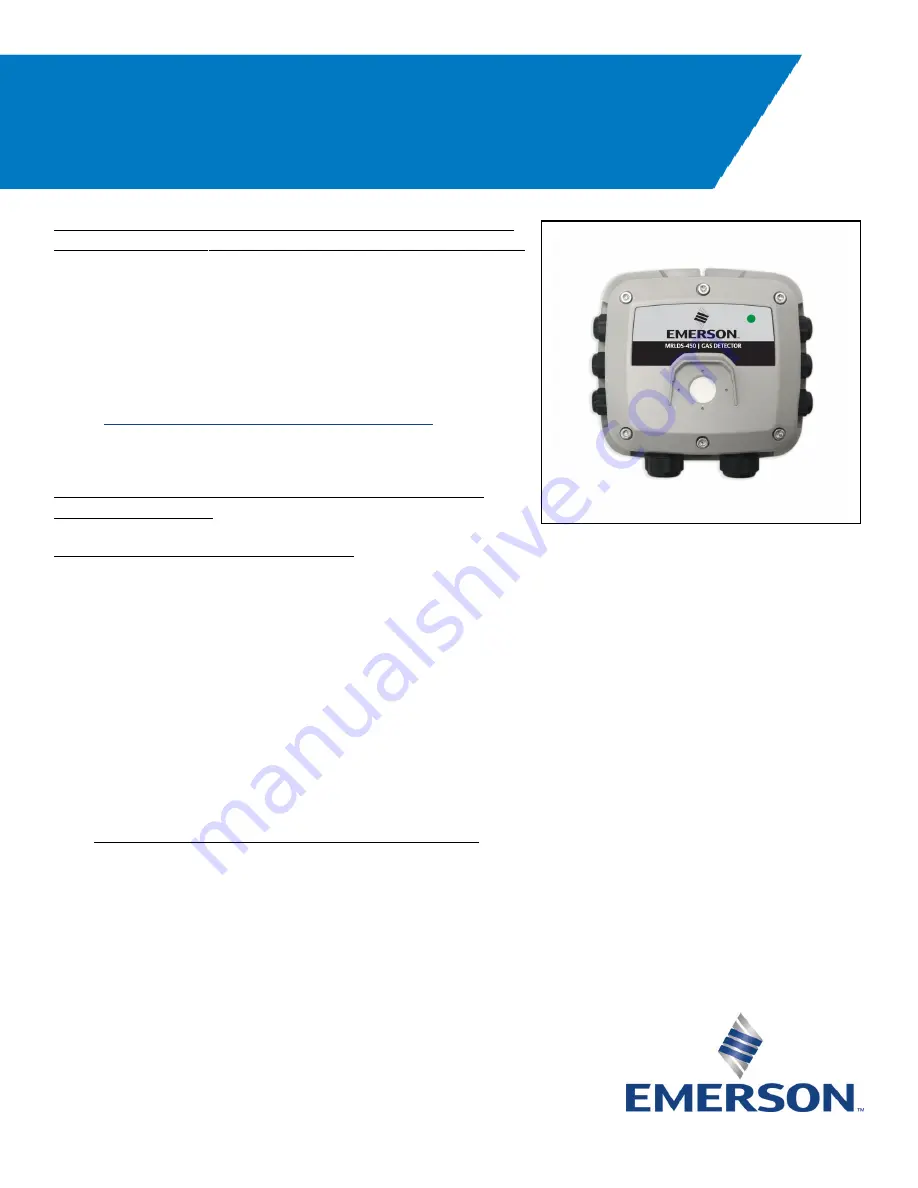
            

      MRLDS-450

Installation Guide

MRLDS-450 Application In E2

Summary of Contents for MRLDS-450

Page 1: ...0 425 2724 Option 4 Note UltraSite32 software should be installed to perform a description file upload Connect to E2 using UltraSite32 1 Launch UltraSite program and login 2 View the Directory Level and then Site Level 3 Right click Site Level and click Connect 4 Locate the E2 where the MRLDS_450 dsc will be installed 5 Right click the unit and select Upload Description File 6 Click Browse to sele...

Page 2: ...roller Information then press Btwice to move to the C3 Serial tab 3 Press the down arrow key to the COM Connection where the device is wired 4 Press D LOOK UP and select MODBUS 1 MODBUS 2 or MODBUS 3 then press to set configuration 5 Press Dto select options and set the MODBUS connection as follows 6 Press to set configuration then Jto save changes 7 Press Hto return to the Home screen MODBUS Conn...

Page 3: ...ess Ithen and to enter Connected I O Boards and Controllers 2 Press Bto move to the C3 ECT tab Highlight the MRLDS 450 application and enter the desired number of devices under Quantity up to a maximum of 15 3 Press Jto save the changes 4 Press Hto return to the Home screen Commissioning the MRLDS 450 1 Press Ithen and to enter the Network Summary screen 2 Highlight the MRLDS 450 to be commissione...

Page 4: ...st technical documentation and updates 3 If a box with Select Network appears on the screen select the MODBUS number where you configured the device either MODBUS 1 MODBUS 2 or MODBUS 3 and press 4 Select the address for the device and press Note The MODBUS address must be the same as the address assigned on the device Figure 4 Select MODBUS output Figure 5 Select Device Address ...

Page 5: ...t technical documentation and updates 5 A window will appear Press to continue 6 Press Jto save the assigned address 7 Press Hto return to the Home screen and press Ithen and to enter the Network Summary screen again 8 After a few seconds the MRLDS 450 should appear Online Figure 6 Set the Physical Address for the MRLDS 450 Figure 7 MRLDS 450 Network Summary Screen Online Status ...

Page 6: ...or its affiliates collectively Emerson reserves the right to modify the designs or specifications of such products at any time without notice Emerson does not assume responsibility for the selection use or maintenance of any product Responsibility for proper selection use and maintenance of any product remains solely with the purchaser and end user Emerson is a trademark of Emerson Electric Co 202...

Reviews: