Emerson MRLDS-450, Installation And Operation Manual
The Emerson MRLDS-450 is a versatile and user-friendly product that makes your life easier. With its high-quality features and advanced technology, this innovative device promises exceptional performance. Enhance your experience by installing it effortlessly with the step-by-step instructions provided in the Installation Manual, available for free download on manualshive.com.
Share
Download


Reviews:
No comments
Related manuals for MRLDS-450
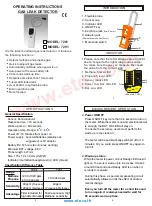
7201
Brand: Eastern Energy Pages: 2
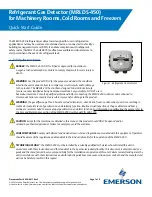
MRLDS-450
Brand: Eaton Pages: 9

PDM
Brand: WatchGas Pages: 13
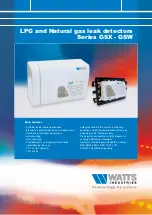
GSX Series
Brand: Watts Pages: 8
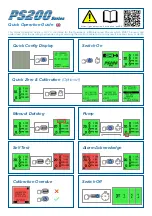
GMI PS200 Series
Brand: 3M Pages: 2
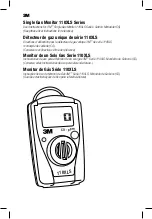
110XLS Series
Brand: 3M Pages: 33
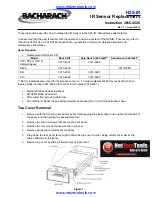
H25-IR
Brand: Bacharach Pages: 4
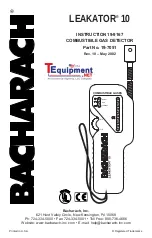
Leakator 10
Brand: Bacharach Pages: 24
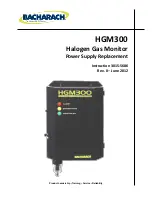
HGM300
Brand: Bacharach Pages: 8
DAT 420
Brand: DALEMANS Pages: 17

DAT 420
Brand: DALEMANS Pages: 20
U-H1
Brand: DALEMANS Pages: 40
GD-3000
Brand: Eagle Eye Power Solutions Pages: 24
P21
Brand: FantiniCosmi Pages: 8
Multi Gas Clip
Brand: Gas Clip Technologies Pages: 2
Observer-i
Brand: GASSONIC Pages: 37
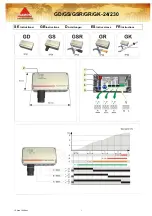
GD
Brand: Samon Pages: 8
69310
Brand: yellow jacket Pages: 3


