

OWNER’S
MANUAL
If you need additional assistance for set-up or operating
after reading owner’s manual, please call
TOLL FREE : 1-800-287-4871.
Please read before using this equipment.
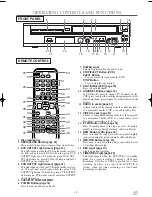
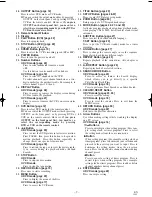
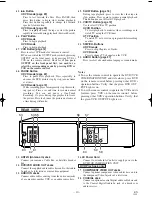
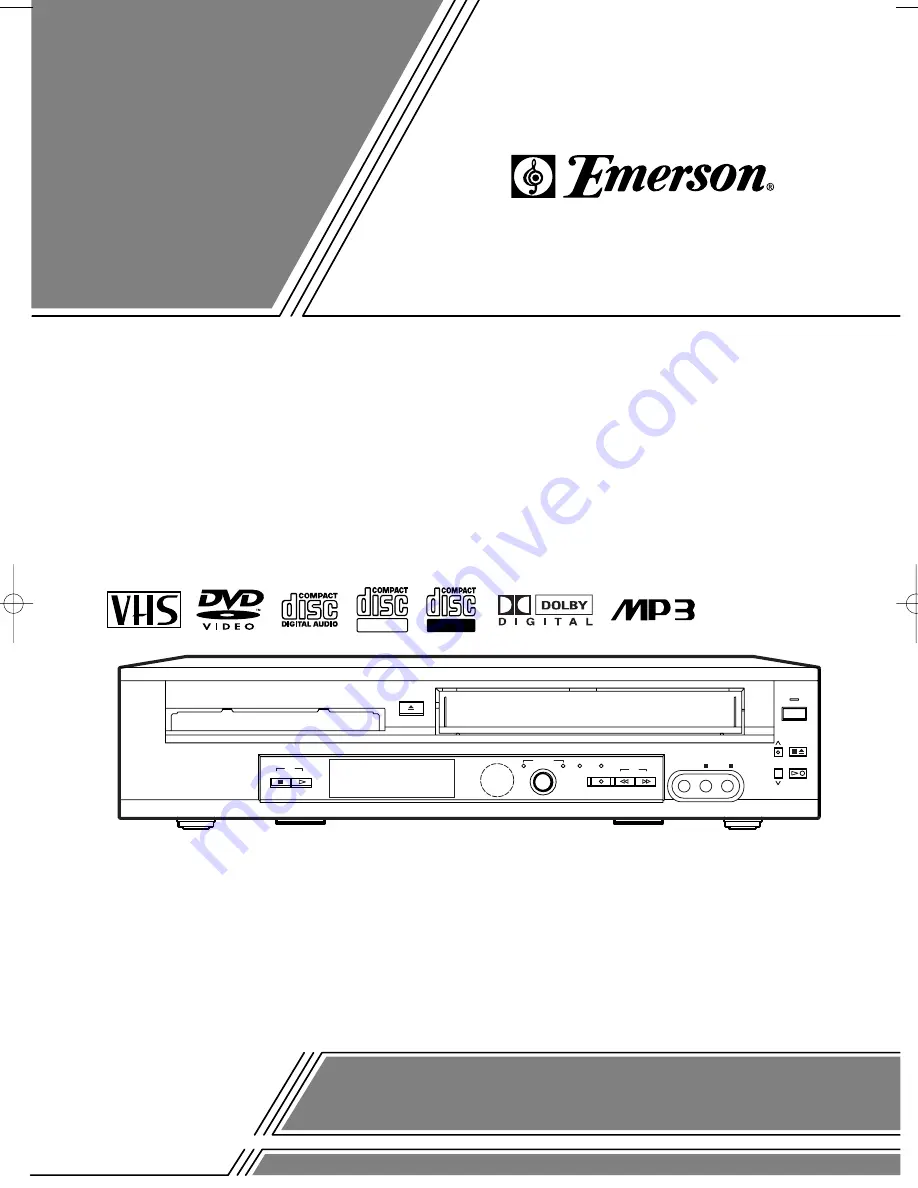
POWER
CHANNEL
PLAY
STOP/EJECT
VIDEO
AUDIO
OPEN/CLOSE
REW
F.FWD
STOP
PLAY
REC
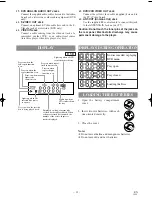
VCR
DVD
TIMER REC
OUTPUT
DVD
L
R
VCR
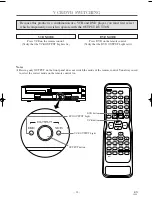
ReWritable
Recordable
DVD PLAYER with VIDEO CASSETTE RECORDER
CEDV800D
EMERSON AND THE G-CLEF LOGO ARE REGISTERED
TRADEMARKS OF EMERSON RADIO CORP., PARSIPPANY,
NEW JERSEY, U.S.A.
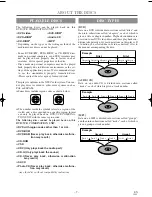
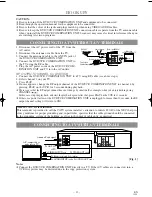
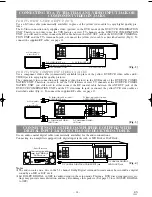
NOTE: You cannot copy a DVD to a video tape, as it is against copyright recording rules.
H9436CD(EN).qx33 03.3.11 2:57 PM Page 1
Summary of Contents for CEDV800D
Page 35: ... 35 EN 1L25 MEMO ...


