Electrolux AW 445, Operating Instruction
The Electrolux AW 445 is a versatile and efficient washing machine. Ensure smooth operation with the comprehensive Operating Instruction manual. Download this manual for free from our website, manualshive.com, to optimize your laundry experience with this top-notch appliance.
Share
Download


Reviews:
No comments
Related manuals for AW 445
S Series
Brand: Pacific Pages: 76

X4
Brand: YANGZI Pages: 17
LN Series
Brand: TBH Pages: 236

VP6
Brand: Kärcher Pages: 27

FEC
Brand: Abicor Binzel Pages: 116

FES-200
Brand: Abicor Binzel Pages: 100
JOB
Brand: Eagle power Pages: 13

290 Series
Brand: R.P.S. Corporation Pages: 53
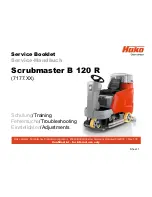
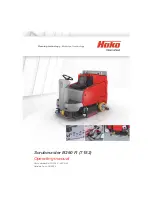
Scrubmaster B 120 R
Brand: HAKO Pages: 2
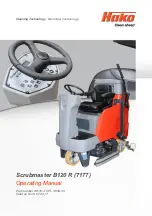
Scrubmaster B 120 R
Brand: HAKO Pages: 88
Scrubmaster B 120 R
Brand: HAKO Pages: 99

Scrubmaster B175 R
Brand: HAKO Pages: 102
Scrubmaster B260 R
Brand: HAKO Pages: 106

F3435
Brand: jbc Pages: 8

B 40 C Bp
Brand: Kärcher Pages: 16

BDS 43/150 C Classic
Brand: Kärcher Pages: 12

B 40 C Bp
Brand: Kärcher Pages: 276

B 150 R
Brand: Kärcher Pages: 404


