


Summary of Contents for DXST4500
Page 2: ......
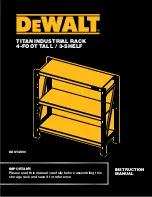
The DeWalt DXST4500 is a heavy-duty workbench designed for professional use. To ensure optimal setup and efficient usage, it is crucial to refer to the Instruction Manual. You can freely download the comprehensive manual for the DeWalt DXST4500 from our website, manualshive.com.
Page 2: ......


